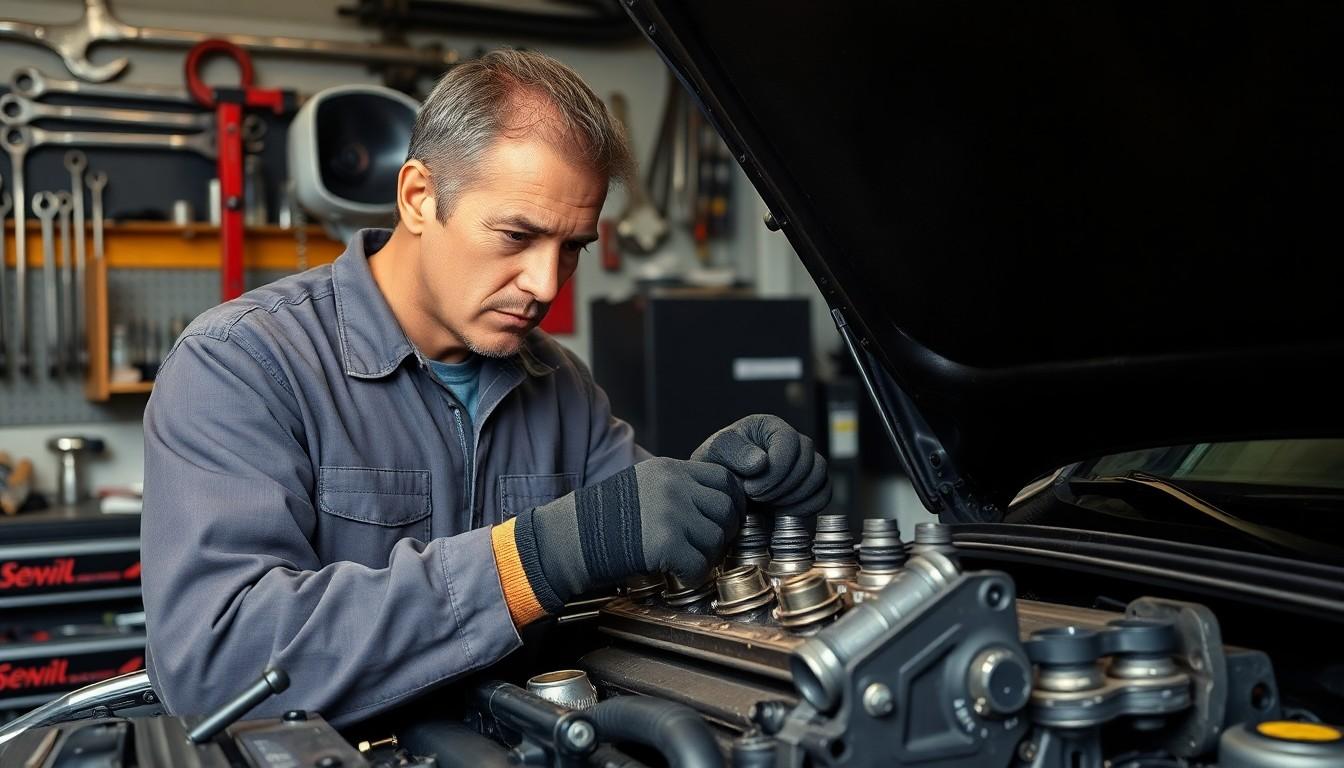
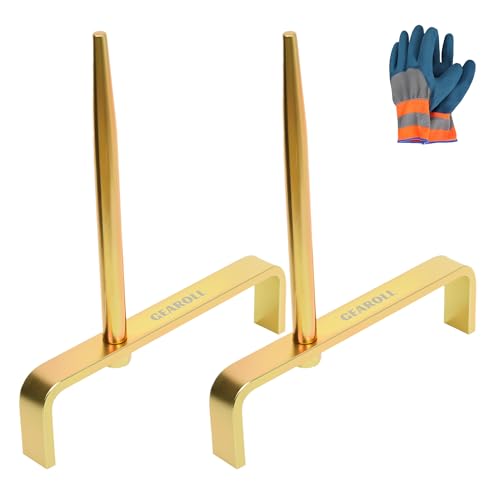
Tackling a cylinder head replacement might seem daunting, but with the right guidance, it’s a repair job you can master at home. We’ve helped countless DIY mechanics successfully complete this task, saving them hundreds in labor costs while giving them the satisfaction of fixing their own vehicle.
In this comprehensive guide, we’ll walk you through each step of replacing a cylinder head, from diagnosing a blown head gasket to tightening the final bolt to specification. Whether you’re dealing with overheating issues, compression loss, or contaminated oil, our straightforward instructions will help you restore your engine to proper working condition without the hefty mechanic’s bill.
Understanding Cylinder Head Function and Replacement Signs
The cylinder head forms a crucial part of an engine’s architecture, sealing the combustion chamber and housing valves, springs, and other vital components. It’s designed to withstand extreme heat and pressure while ensuring optimal engine performance. Many cylinder heads are made from aluminum or cast iron, with aluminum being lighter but more susceptible to warping under excessive heat.
How Cylinder Heads Work
Cylinder heads create the top portion of the combustion chamber where fuel ignites to power your vehicle. They contain intake and exhaust valves that control the flow of air/fuel mixture and exhaust gases. Modern cylinder heads often incorporate complex cooling passages that help maintain appropriate operating temperatures. The head gasket creates a critical seal between the cylinder head and engine block, preventing oil, coolant, and compression from leaking.
Common Signs of Cylinder Head Problems
Recognizing cylinder head issues early can save thousands in repair costs. White smoke billowing from your exhaust indicates coolant burning in the combustion chamber, often due to a cracked head or blown gasket. Bubbling in the radiator or coolant reservoir points to compression leaking into the cooling system. External oil or coolant leaks around the cylinder head suggest gasket failure. Poor engine performance, including rough idling, misfiring, and decreased power, frequently stems from compression loss through damaged cylinder heads. Overheating occurs repeatedly when cylinder head problems prevent proper coolant circulation. Contaminated fluids, such as milky oil or oily coolant, signal that these systems are mixing through a compromised head or gasket.
When Replacement is Necessary vs. Repair
Cylinder heads can sometimes be repaired rather than replaced, depending on the damage severity. Hairline cracks in cast iron heads might be repairable through welding or specialized techniques. Warped aluminum heads can potentially be resurfaced if the warpage doesn’t exceed 0.003 inches. Replacement becomes necessary when cracks are severe or extend into valve seats, warping exceeds manufacturer specifications, or extensive damage affects multiple areas. Costs typically range from $500-$1,000 for parts alone, making proper diagnosis critical before deciding between repair and replacement.
Tools and Materials Needed for Cylinder Head Replacement
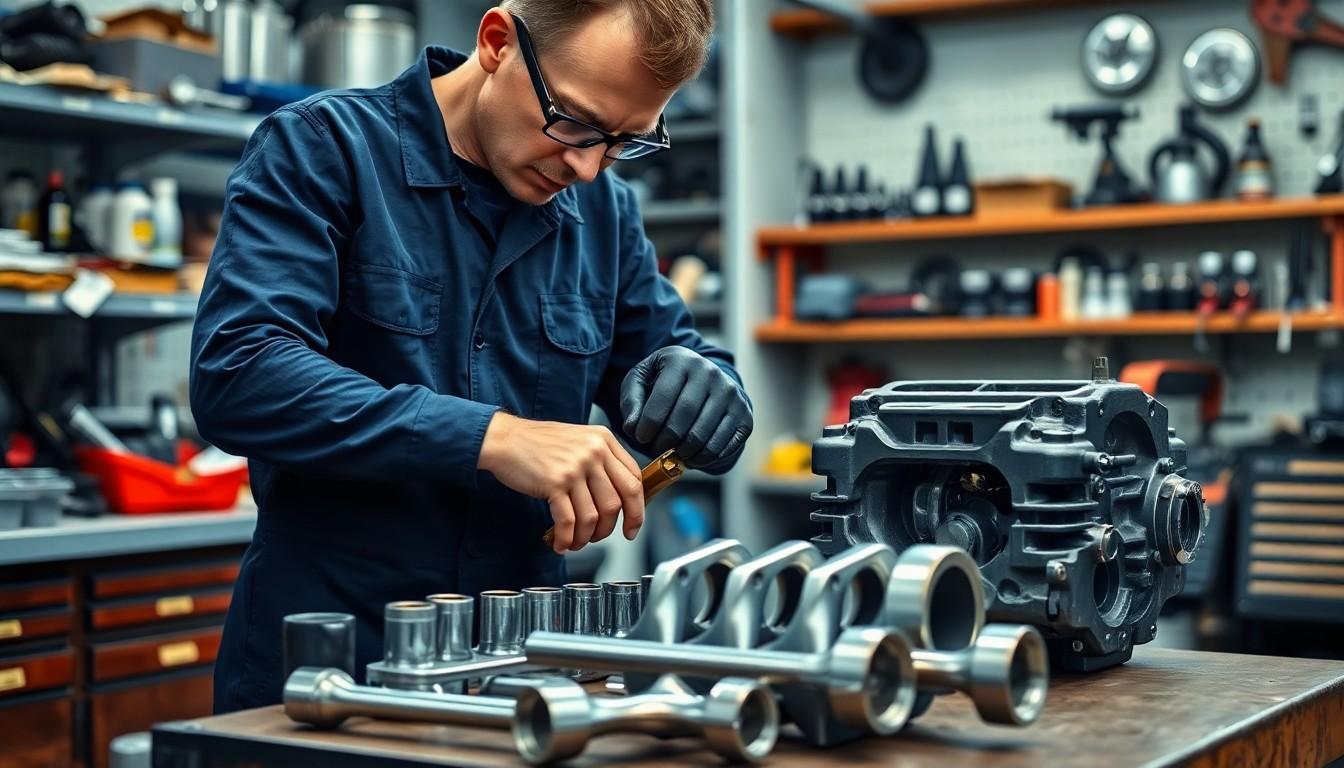
Gathering all necessary tools and materials before starting a cylinder head replacement saves time and prevents delays during the repair process. Having everything at hand ensures smooth workflow and proper execution of this complex engine repair task.
Essential Tools for the Job
A complete socket and ratchet set forms the foundation of your toolbox for this project, allowing access to various bolts and fasteners throughout the engine. Wrenches are essential for removing exhaust manifolds and engine intake components that block access to the cylinder head. A sturdy breaker bar paired with ratchet extensions provides the necessary leverage for loosening stubborn head-to-block mounting bolts that secure the cylinder head to the engine block. Pry bars help separate the cylinder head from its placement once all fasteners are removed, especially when it’s stuck due to old gasket material. Keep a screwdriver handy to gently loosen the edges of the old cylinder head without damaging the mounting surfaces. Don’t forget to prepare a drain pan for collecting oil and coolant that must be removed before starting the replacement process, along with a funnel for refilling these fluids after the job is complete.
Required Replacement Parts and Supplies
The new cylinder head is obviously the central component of this repair, serving as a direct replacement for the damaged original part. A fresh head gasket is equally important, creating a proper seal between the cylinder head and engine block to prevent leaks and maintain compression. Consider replacing the mounting bolts if the old ones show signs of damage or wear, as these critical fasteners maintain proper torque specifications for optimal engine performance. Purchase sufficient coolant and oil for refilling the engine after draining these fluids during the repair process. Gasket sealant might be necessary depending on your exact engine’s manufacturer specifications, improving the seal between components. Valve cover gaskets often get damaged during removal and should be replaced to prevent oil leaks after reassembly. Additional components worth considering include the timing belt if it was removed during the process, intake and exhaust manifold gaskets if these assemblies were disturbed, and rocker arm components if any were damaged during disassembly.
Preparing Your Engine for Cylinder Head Removal
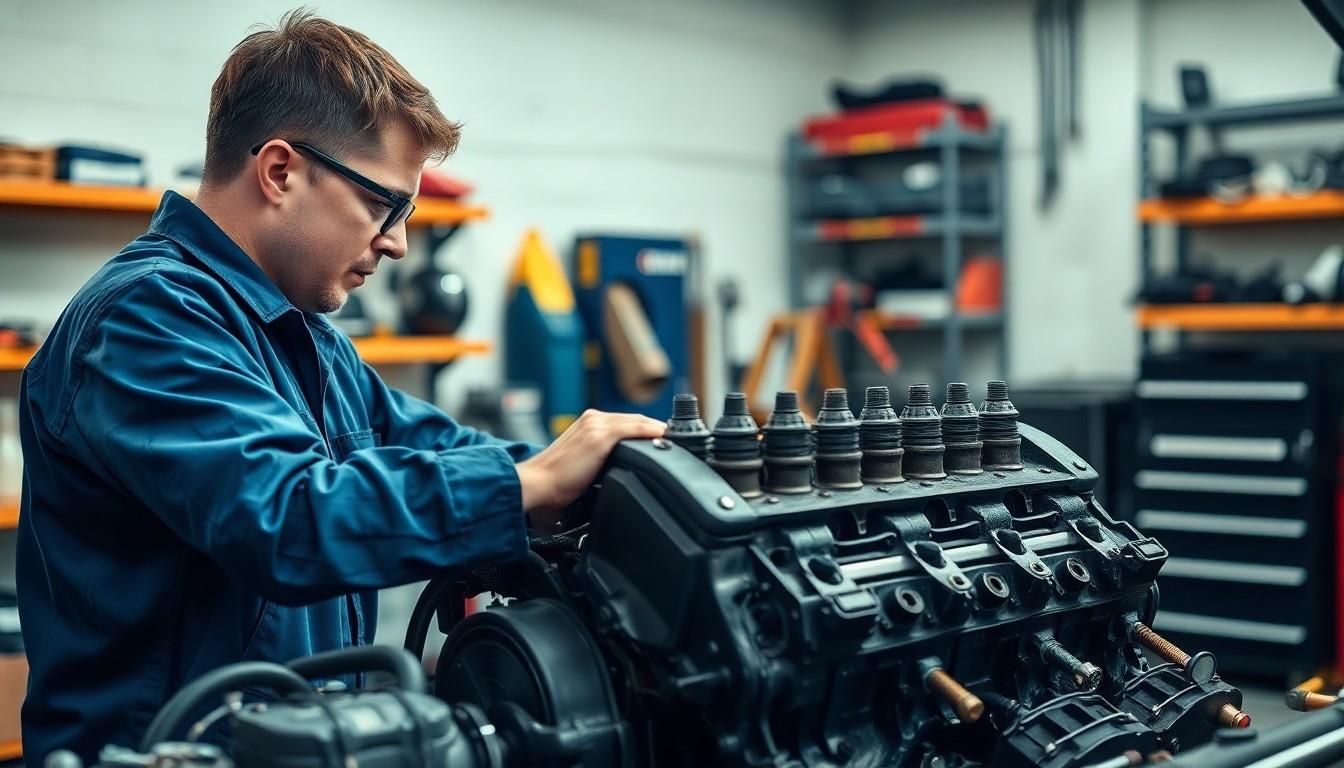
Properly preparing your engine for cylinder head removal is a critical first step in the replacement process. This preparation ensures both your safety and the integrity of engine components during the procedure.
Safety Precautions Before Starting
Safety comes first when working on any engine component. Always ensure the engine has completely cooled down to prevent burns and serious injuries. Put on appropriate protective gear including gloves, safety glasses, and a face mask to protect yourself from fluids and debris. Position your vehicle on a level surface and engage the parking brake for stability during the repair process. Disconnect the battery terminals to eliminate any risk of accidental engine start while you’re working on exposed components.
Draining Coolant and Removing Connected Components
The process begins with properly draining all fluids from the engine system. Locate the radiator drain cap and remove the screw to allow coolant to flow out completely, making sure to place a large collection pan underneath to catch the fluid. Next, remove the oil pan’s drain plug to empty the engine oil, collecting it in a separate container for proper disposal.
After draining fluids, focus on detaching connected components. Unbolt the exhaust manifolds and engine intake using a wrench or ratchet, separating them from the cylinder head without completely removing them from the engine. Take off the valve covers with a socket and ratchet to expose the internal components. Remove the timing belt to gain better access to the cylinder head area. Detach the rocker arm by loosening the central mounting bolts alternately until you can unscrew them by hand. Additional components that might obstruct your access, such as the throttle body, steering pump mounting, and air filter system, should also be removed at this stage.
Step-by-Step Cylinder Head Removal Process
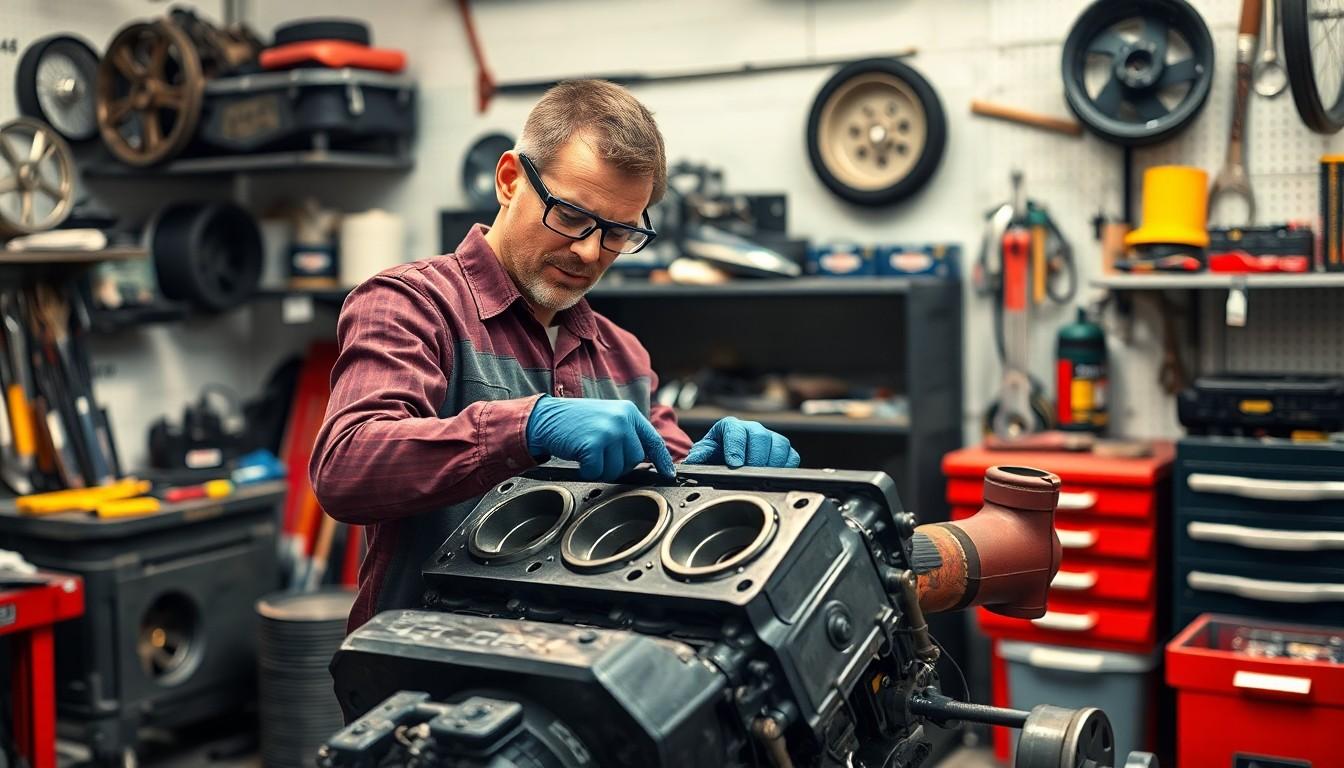
Removing a cylinder head requires methodical execution to prevent damage to your engine. The process involves several critical steps that must be performed in the correct order to ensure success.
Drain Fluids and Disconnect Components
Start by completely draining the cooling system and engine oil. Locate the radiator drain cap screw and remove it to release all coolant, then take out the oil pan drain plug to empty the oil. Disconnect all cooling hoses attached to both the front and rear of the cylinder head. Remove electrical connections to any sensors on the head, including temperature and oil pressure sensors.
Remove Exhaust Manifolds and Engine Intake
Detach the exhaust manifolds using a wrench or ratchet by loosening and removing all mounting bolts. Take off the engine intake manifold by disconnecting any attached hoses and removing all fasteners. Access the valve covers and remove them with a socket and ratchet to expose the internal components.
Detach Rocker Arms and Timing Components
Remove all rocker arms from their mounting positions on the cylinder head. For engines with dual heads, both sets of rocker arms need removal. Take off the timing belt or chain cover carefully. Relax or remove the tensioner mechanism to create slack in the system. With overhead cam engines, secure the timing chain in place to prevent it from falling into the lower cover area.
Remove Distributor and Align Engine
For engines with distributors, remove this component completely before proceeding further. Rotate the engine crankshaft until the #1 cylinder reaches top dead center position. Verify alignment by checking that all timing marks on the camshaft and crankshaft are properly aligned according to manufacturer specifications.
Removing the Head Bolts in Proper Sequence
Cylinder head bolts must be removed in a exact reverse-torque sequence to prevent warping the head or damaging the block. Consult your vehicle’s service manual to identify the correct loosening pattern for your exact engine model. Loosen each bolt gradually in multiple passes rather than completely removing one bolt at a time. Use a properly sized socket and breaker bar or ratchet to apply consistent force when breaking the initial torque.
Safely Lifting and Inspecting the Old Cylinder Head
After all mounting bolts are removed, insert a screwdriver or pry tool between the cylinder head and engine block to gently break the gasket seal. Lift the cylinder head straight up and off the engine block, being careful not to damage the gasket surface or alignment dowels. For pushrod engines, the head comes off directly, while overhead cam engines require extra attention to avoid damaging timing components. Examine the removed head thoroughly for cracks, warping, or other damage, particularly around valve seats and combustion chambers. Clean all mating surfaces on both the engine block and cylinder head to remove any remnants of the old gasket, rust, or debris that could prevent proper sealing with the new gasket.
Cylinder Head Inspection and Preparation
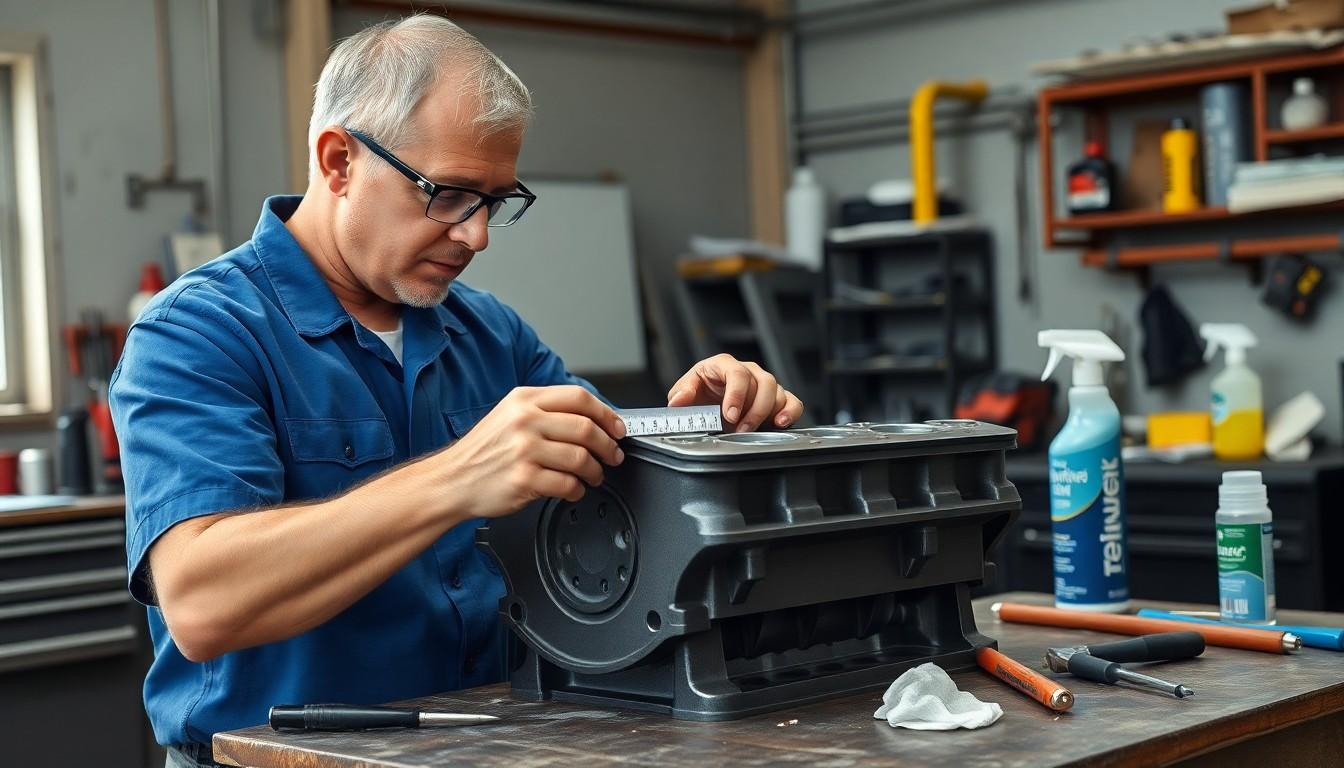
Proper inspection and preparation of the cylinder head are critical steps that determine the success of your replacement project. These processes ensure the new or refurbished head will seal correctly and function optimally once installed.
Checking for Warping and Damage
Thorough examination of your cylinder head reveals potential issues that could compromise engine performance. Place the cylinder head on a flat surface and use a straight edge to check for any warping along the mating surface. A feeler gauge helps measure any gaps between the straight edge and head surface, indicating warpage that exceeds specifications. Look carefully for hairline cracks, especially around valve seats, spark plug holes, and between ports. Corrosion and excessive wear also signal problems that might necessitate resurfacing or complete replacement. Remember that even minor warping prevents proper sealing against the engine block, leading to compression issues and potential coolant leaks.
Cleaning Mating Surfaces
Pristine mating surfaces create the foundation for a leak-free seal between your cylinder head and engine block. Remove all traces of old gasket material using a plastic scraper to avoid gouging the aluminum surfaces. Apply appropriate cleaning solvents to dissolve stubborn gasket residue and oil deposits that might prevent proper adhesion. Clean both the cylinder head and engine block surfaces thoroughly with lint-free rags until they’re completely free of dirt, oil, and debris. Pay special attention to bolt holes, ensuring they’re clear of any obstructions that could affect torque readings. Compressed air helps remove cleaning solvent residue and small particles from recessed areas and water passages. Professional-grade brake cleaner provides a final cleaning touch, as it evaporates completely without leaving residue that could interfere with the new gasket seal.
Installing the New Cylinder Head

After removing the old cylinder head, we’ll now focus on installing the new one correctly. This critical step requires attention to detail and precision to ensure proper engine function.
Proper Gasket Installation
The head gasket creates the essential seal between the engine block and cylinder head. Place the new head gasket carefully on the clean engine block surface, making sure it’s centered and evenly seated. Apply a thin layer of engine oil to the gasket to prevent it from sticking to either the block or head during installation. Following the manufacturer’s exact instructions is crucial as gasket procedures and materials have evolved significantly over time. Incorrect gasket installation can lead to leaks, compression issues, and eventually engine failure.
Torquing Head Bolts to Specifications
Proper torquing of head bolts ensures even pressure distribution across the cylinder head and gasket. Start by placing the cylinder head onto the engine block, aligning it carefully with the head bolts and dowel pins. Insert all head bolts into their respective holes but don’t fully tighten them yet. Follow the exact torque sequence found in your vehicle’s repair manual—typically this involves a star or cross pattern that prevents warping. Use a calibrated torque wrench to tighten each bolt gradually in multiple passes until reaching the manufacturer’s specified torque value. A breaker bar with ratchet extension and appropriate socket helps achieve the necessary leverage for proper tightening. Remember that over-torquing can be just as damaging as under-torquing, potentially leading to stripped threads or a warped head.
Reassembling Engine Components
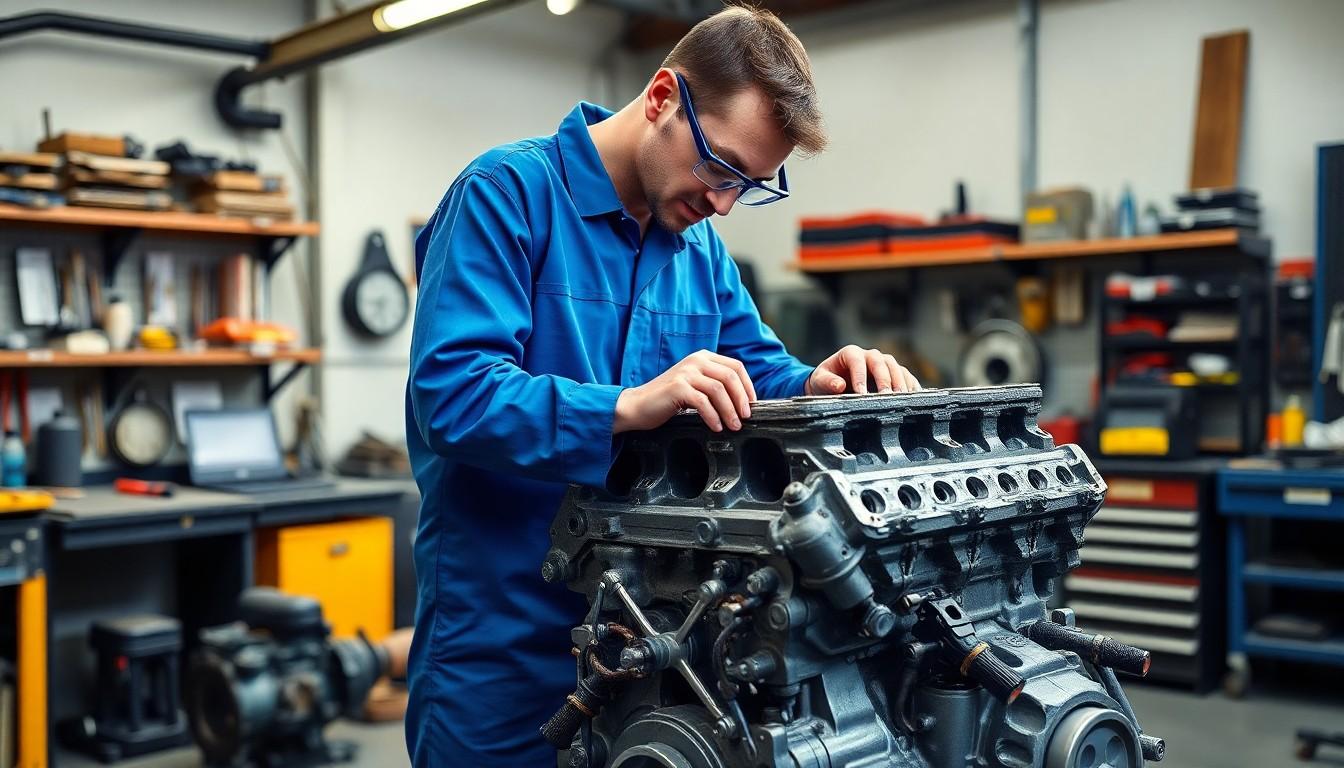
After removing the old cylinder head and preparing your engine block, it’s time to reassemble the components with precision and care. The reassembly process requires attention to detail and adherence to manufacturer specifications to ensure proper engine function and prevent future issues.
Reinstalling the New Cylinder Head
Proper installation of the new cylinder head begins with thorough preparation of the engine block surface. Clean the engine block meticulously, removing all debris and old gasket material to create an optimal sealing surface.
Apply the new head gasket according to the manufacturer’s instructions, ensuring it’s correctly positioned on the engine block. The gasket acts as a critical seal between the block and cylinder head, preventing compression loss and fluid leaks.
Mount the new cylinder head carefully onto the engine block, aligning it with the dowel pins. Insert the head bolts and tighten them in the specified sequence found in your vehicle’s manual. Following the correct torque specifications and sequence prevents warping of the cylinder head and ensures even pressure distribution.
Once the cylinder head is secured, reinstall the valve covers with new gaskets if needed. Tighten the valve cover bolts to the recommended torque specification to prevent oil leaks. For engines with rocker arms, reattach them and tighten the central mounting bolts alternately until they reach proper torque specifications.
Timing Chain/Belt Reinstallation
Proper timing chain or belt installation is crucial for correct engine operation. For engines with timing belts, carefully reinstall the belt after the cylinder head is securely in place. Align all timing marks precisely—misalignment can cause severe engine damage when started.
For timing chain systems, verify proper alignment between the chain and the marks on both the engine and new cylinder head. Use the appropriate tools to tighten the chain tensioner according to manufacturer specifications. Correct tension prevents chain slippage and maintains accurate valve timing during engine operation.
Double-check all timing components, including tensioners, guides, and sprockets, to ensure they’re properly seated and functioning. Rotating the engine by hand through several cycles confirms proper timing and helps identify any potential issues before starting the engine.
Reconnecting Intake and Exhaust Components
The intake manifold must be reinstalled with a new gasket to prevent vacuum leaks. Position the manifold carefully and tighten the bolts in the sequence specified by the manufacturer. Correct torque application ensures an airtight seal without damaging the manifold or cylinder head.
Reconnect all associated intake components such as the throttle body, air filter housing, and any vacuum lines that were previously disconnected. Secure the steering pump mounting if it was removed during the disassembly process.
Attach the exhaust manifold to the cylinder head using new gaskets and hardware if the old ones show signs of wear. Tighten the exhaust manifold bolts evenly to prevent exhaust leaks and ensure proper exhaust flow.
Complete the reassembly by reconnecting all remaining components including coolant lines, fuel lines, and electrical connections. Pay particular attention to sensor connections and wiring harnesses, as these are critical for proper engine management.
Refill the cooling system with fresh coolant and the engine with new oil as specified in your vehicle’s manual. These fluids are essential for proper lubrication and cooling of your newly installed cylinder head and associated components.
Post-Installation Procedures
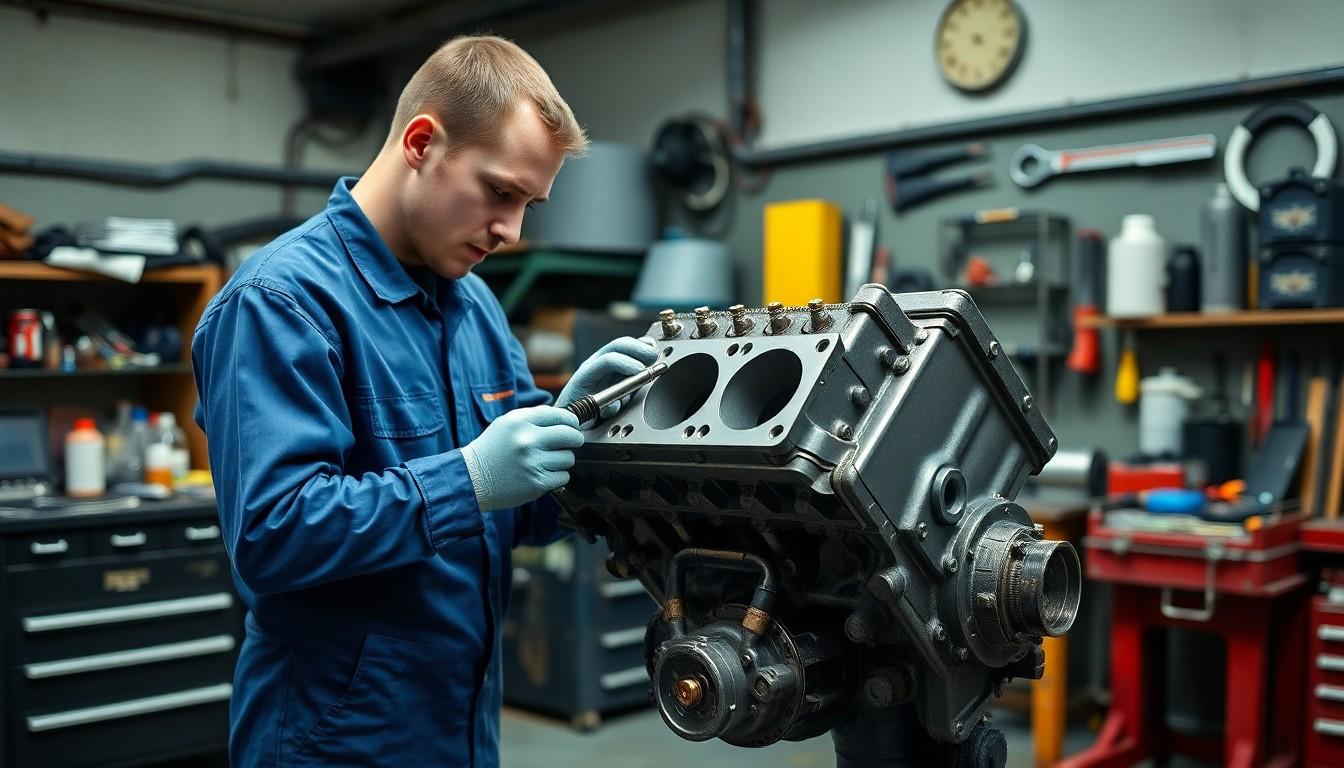
After installing your new cylinder head, several critical procedures must be completed to ensure proper functioning and longevity of your engine. These final steps are just as important as the installation itself and require careful attention to detail.
Reattaching the Head
Proper torque application forms the foundation of a successful cylinder head installation. Follow your vehicle’s exact torque specifications and sequence for the mounting bolts, which you’ll find in your car’s manual or the head gasket installation instructions. Torquing in the correct pattern ensures even pressure distribution across the entire gasket surface, preventing leaks and warping.
Thorough cleaning of the engine block and cylinder head holes is essential before final assembly. Use brake cleaner and a fine Scotch Brite pad to remove all traces of old oil, dirt, and carbon deposits from mating surfaces. Clean surfaces create the optimal seal between the head gasket and engine components, dramatically reducing the risk of future leaks.
When reconnecting components to the newly installed cylinder head, pay careful attention to detail. Attach the rocker cover, coolant hoses, and wiring harness with precision, ensuring each connection is secure without being over-tightened. Over-torquing these connections can strip threads or damage delicate components, creating problems down the road.
Refilling Fluids and Initial Startup
Proper fluid replacement plays a crucial role in your engine’s health after a cylinder head replacement. Fill the cooling system with the manufacturer-recommended coolant type, making sure to bleed any air pockets that could cause overheating. Air trapped in the cooling system prevents proper circulation and can lead to hot spots in the engine.
Engine oil must be refilled to the appropriate level using the correct viscosity and type for your vehicle. Install a new oil filter during this process to ensure clean oil circulation through your freshly rebuilt engine. Fresh oil provides essential lubrication for moving parts and helps remove any remaining debris from the installation process.
Before starting the engine, double-check all connections meticulously. Verify coolant hoses, oil lines, and electrical connections are properly secured and routed away from moving parts or hot surfaces. This final inspection prevents potentially catastrophic failures when the engine first fires up.
Start the engine and maintain a low idle speed for the first few minutes, allowing fluids to circulate and the engine to gradually warm up. Monitor your dashboard carefully for warning lights or unusual readings that might indicate problems. Listen for any unusual sounds that could signal improper installation or loose components.
Conduct a thorough leak check immediately after startup, looking around the cylinder head, head gasket, and all connections. Oil or coolant leaks may indicate improper torquing, damaged gaskets, or misaligned components that require immediate attention before further operation.
Breaking In Your New Cylinder Head
Avoiding high RPMs during the initial break-in period extends the life of your new cylinder head. Keep engine speeds moderate for the first few hundred miles, allowing the head gasket and other components to properly seat and form optimal seals. Rushing this process can lead to premature gasket failure or component wear.
Gentle driving practices help ensure proper break-in of your newly installed cylinder head. Avoid hard acceleration, heavy loads, and extended high-speed operation during this critical period. Gradual temperature cycles and moderate pressure help components conform to each other for long-term reliability.
Regular checks throughout the break-in period help catch any developing issues early. Monitor fluid levels daily, inspect for leaks, and pay attention to engine performance. Temperature fluctuations, unusual noises, or changes in performance might indicate problems that require immediate attention to prevent damage to your new cylinder head.
Conclusion
Replacing a cylinder head is a challenging but rewarding DIY project that can save substantial repair costs. With careful preparation proper tools and attention to detail you’ll successfully complete this job at home.
Remember that torque specifications cleaning procedures and a methodical approach are crucial to ensure your engine runs smoothly after replacement. Don’t rush the break-in period and stay vigilant for any signs of leaks or unusual sounds.
The satisfaction of successfully replacing your own cylinder head goes beyond financial savings. It’s about gaining valuable mechanical knowledge and confidence in your ability to tackle complex automotive repairs. Your engine will thank you with improved performance and extended life.
Frequently Asked Questions
What is a cylinder head and why is it important?
A cylinder head is a crucial engine component that seals the combustion chamber and houses valves, springs, and other essential parts. It plays a vital role in the engine’s operation by containing combustion pressure and managing airflow. When damaged, it can cause significant engine problems including overheating, compression loss, and oil contamination.
How do I know if my cylinder head needs replacement?
Look for white smoke from the exhaust, bubbling in the radiator, overheating, poor engine performance, oil contamination with coolant, or compression loss. These symptoms indicate possible cylinder head problems such as cracks or gasket failure. A professional diagnosis can confirm if replacement is necessary.
Can I replace a cylinder head myself?
Yes, with proper guidance and tools, a DIY mechanic can replace a cylinder head. You’ll need a complete socket set, wrenches, torque wrench, breaker bar, and pry bars. The job requires mechanical aptitude and attention to detail, but can save significant labor costs compared to professional service.
What parts do I need for a cylinder head replacement?
You’ll need a new cylinder head, head gasket, and possibly new mounting bolts. Consider also replacing valve cover gaskets, intake and exhaust manifold gaskets, timing components, and coolant hoses while the engine is disassembled. Fresh coolant and engine oil are essential for refilling after completion.
How long does it take to replace a cylinder head?
For most DIY mechanics, expect to spend 8-12 hours on this project. Experienced mechanics might complete it faster, but first-timers should plan for a full weekend. The complexity varies by vehicle model, with some engines requiring more extensive disassembly and precise timing component reinstallation.
What’s the proper torque sequence for head bolts?
The torque sequence is specific to your vehicle and must be followed exactly according to the manufacturer’s repair manual. Generally, you’ll start from the center and work outward in a spiral pattern. This ensures even pressure distribution and prevents warping of the cylinder head.
Should I repair or replace a damaged cylinder head?
Minor damage like small cracks might be repairable by a machine shop. However, severe warping, deep cracks, or extensive damage typically requires replacement. The cost of professional repair versus a new or remanufactured head should be considered, along with the age and value of your vehicle.
What safety precautions should I take during cylinder head replacement?
Ensure the engine is completely cool before starting. Disconnect the battery to prevent electrical hazards. Wear safety glasses and gloves throughout the process. Use proper jack stands if you need to access the underside of the vehicle. Keep a fire extinguisher nearby when working with fuels and oils.
How do I break in a new cylinder head?
After installation, avoid high RPMs and heavy loads for the first 500 miles. Vary engine speeds during this period and avoid extended idling. Check for leaks regularly and monitor engine temperature. Change the oil after about 500 miles to remove any metal particles from the break-in process.
How much money can I save by replacing a cylinder head myself?
DIY cylinder head replacement can save $500-1,500 in labor costs, depending on your vehicle model. Parts costs remain the same whether you do it yourself or hire a mechanic. The exact savings depend on your local mechanic rates and the complexity of your specific engine.

