Diving into classic car restoration can be both thrilling and overwhelming. That beautiful vintage automobile sitting in your garage represents not just a vehicle, but a piece of history waiting to be revived. We’ve guided countless enthusiasts through this journey and understand the mixture of excitement and uncertainty you’re feeling.
Where do you begin? That’s the question that stops many restoration projects before they even start. We’ll walk you through the essential first steps that set successful restorations apart from abandoned projects. From assessing your car’s condition to setting realistic budgets and timelines, the initial planning phase is crucial for achieving that showroom-worthy finish you’re dreaming about.
Understanding Your Classic Car Restoration Journey
Classic car restoration is a deeply rewarding process that transforms neglected vintage vehicles into pristine automotive treasures. Embarking on this journey requires more than just enthusiasm—it demands patience, research, and strategic planning. Knowledge about your exact classic car model serves as the foundation for every restoration decision you’ll make.
Researching Your Vehicle’s History
Research forms the cornerstone of any successful restoration project. Begin by gathering information about your car’s make, model, and production year through factory manuals, historical automotive publications, and online forums dedicated to your exact vehicle. Manufacturer specifications provide critical details about original components, paint codes, and factory configurations. Documentation such as build sheets or original paperwork adds important value and authenticates your restoration choices.
Setting Clear Restoration Goals
Defining your restoration goals early establishes a clear direction for your project. Restoration approaches vary significantly based on your intended outcome:
- Concours restoration aims for museum-quality perfection with historically accurate details
- Driver restoration focuses on reliability and functionality while maintaining period correctness
- Restomod combines classic aesthetics with modern performance upgrades
- Custom restoration allows creative expression through personalized modifications
Each approach requires different investments of time, money, and resources, so clarifying your vision early prevents costly directional changes mid-project.
Assessing Your Skills and Resources
Honest self-assessment of your mechanical abilities saves time and frustration throughout your restoration. Take inventory of:
- Your technical knowledge of automotive systems
- Available tools and equipment
- Workspace dimensions and conditions
- Time availability for consistent project work
- Financial resources for parts and professional help
Many restorers develop skills progressively, tackling simpler tasks first while outsourcing complex work like engine rebuilding or bodywork to specialists. Creating a skills development plan alongside your restoration timeline helps you grow your capabilities while making steady progress.
Building Your Support Network
Classic car restoration thrives on community knowledge and support. Connect with:
- Local car clubs exact to your vehicle’s make
- Online restoration forums with model-exact expertise
- Specialty parts suppliers who understand vintage requirements
- Experienced restorers willing to provide guidance
- Professional shops that specialize in classic cars
These connections provide practical advice, troubleshooting help, and moral support when challenges arise. Many restoration obstacles have been solved by others, and tapping into this collective wisdom accelerates your learning curve and enhances results.
Assessing Your Budget and Skill Level
Evaluating your financial resources and technical abilities is the foundation of any successful classic car restoration. This critical assessment helps create a realistic framework for your project and prevents costly surprises along the way.
Determining Project Scope
The scope of your restoration project directly impacts both time and financial investments. First, decide whether you’re aiming for a full restoration, partial restoration, or exact repairs and upgrades based on your assessment. Conducting a thorough examination requires stripping the car down to evaluate its true condition. Remove the battery, drain all fluids, and detach exterior components like bumpers, grills, and lights to gain clear visibility of the vehicle’s state. Carefully inspect critical components including brakes, engine, transmission, and bodywork to identify elements that need repair, replacement, or refurbishment. This comprehensive evaluation provides a detailed roadmap of necessary work and helps establish accurate budget projections for parts and labor.
Setting Realistic Timelines
Classic car restoration is a marathon, not a sprint, requiring patience and methodical planning. Breaking your project into distinct phases makes the process more manageable – consider organizing work into disassembly, repair, restoration, and improvement stages. Bodywork typically consumes important time, involving multiple steps such as paint stripping, dent repairs, rust removal, and welding new metal parts. Factor additional time for unexpected discoveries that inevitably arise during restoration projects. Hidden rust, electrical issues, or hard-to-find parts can extend your timeline considerably. Creating a flexible schedule with built-in buffer periods allows for addressing these unforeseen challenges without derailing your entire project. Experienced restorers recognize that quality work can’t be rushed, especially when dealing with vehicles that may be several decades old.
Finding the Right Classic Car
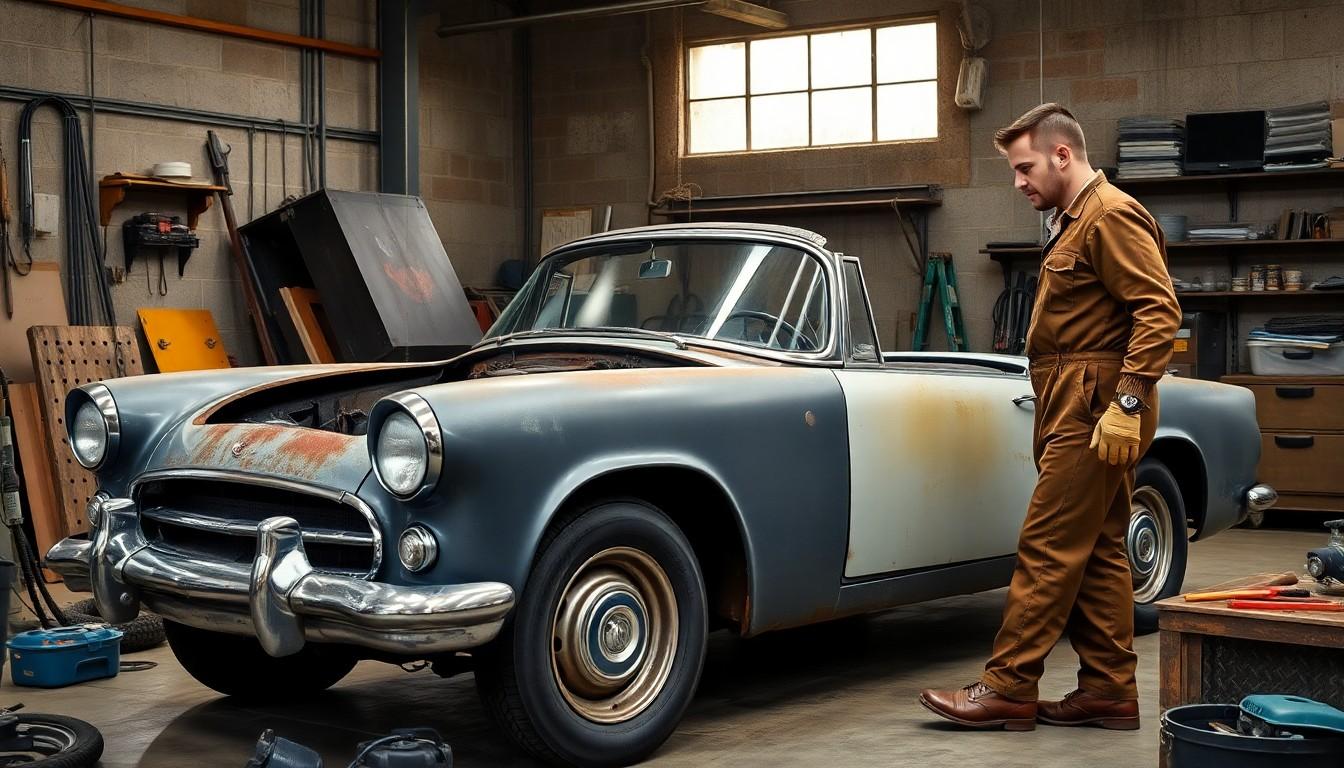
Finding the right classic car is the foundation of any successful restoration project. The perfect vintage vehicle matches your budget, skill level, and time commitment while igniting your passion for restoration.
Evaluating Vehicle Condition
Thorough evaluation of a classic car’s condition determines the scope and cost of your restoration project. Start by removing the battery and emptying all fluids including fuel, transmission fluid, and oil to properly assess the vehicle’s mechanical components. Examine the bodywork closely for rust, dents, and structural damage that might require extensive repairs. Stripping the car to its bare essentials by removing bumpers, grills, lights, and side trim provides a comprehensive view of what needs attention. This detailed inspection helps create an accurate restoration plan and budget before you commit to purchasing the vehicle.
Checking for Authenticity and Originality
Verifying a classic car’s authenticity guarantees you’re investing in a genuine piece of automotive history. Check the vehicle identification number (VIN) and other identifying marks to confirm the car isn’t a replica or assembled from parts of different models. Research the car’s production history through manufacturer documentation or by consulting with classic car experts to understand its original specifications. Joining classic car clubs or attending shows connects you with knowledgeable enthusiasts who can offer valuable insights about your exact model. This research ensures any replacement parts or restoration work maintains the vehicle’s original character and maximizes its value once restoration is complete.
Gathering Essential Tools and Resources
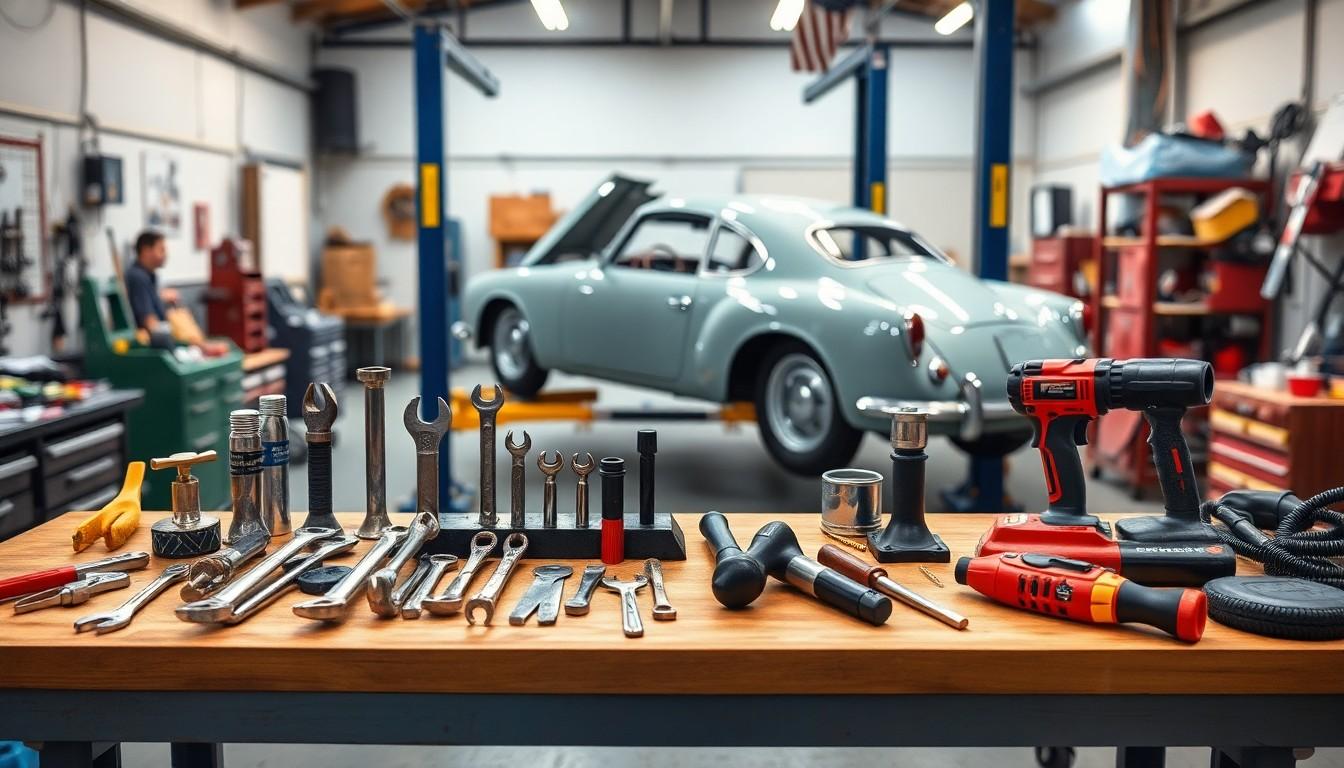
Successful classic car restoration begins with assembling the right tools and resources. A well-equipped workshop forms the foundation of your restoration journey, enabling you to tackle everything from minor repairs to major overhauls with confidence and precision.
Must-Have Workshop Equipment
Essential hand tools form the backbone of any restoration project, including comprehensive sets of box and open-end wrenches, screwdriver sets, ratchets with sockets, pliers, vice grips, and hex keys. Power drills and specialized tools like dent pullers are equally important for addressing body work challenges. For vehicles with metric specifications, metric wrenches are an absolute necessity to prevent stripping fasteners or causing damage to original components.
A proper restoration workspace requires adequate lighting, a sturdy workbench, and organized storage answers to keep tools accessible yet protected. Safety equipment can’t be overlooked—quality gloves, safety glasses, and face masks protect you during grinding, sanding, and painting tasks. Jack stands, supports, tin cutters, putty, and sheet metal patches round out the essential equipment list for addressing rust repair and structural issues. Many experienced restorers also invest in hydraulic lifts or ramps to improve access to the undercarriage, making inspection and repair work considerably more comfortable and safe.
Finding Reliable Parts Suppliers
Local parts stores and online retailers offer convenient options for sourcing components, especially when you’ve compiled a comprehensive list of needed parts to negotiate better pricing. Many restorers find that building relationships with specialized classic car suppliers yields access to hard-to-find components manufactured to original specifications. These connections often develop through membership in classic car clubs or online communities where knowledge sharing becomes invaluable.
Salvage yards represent treasure troves for restoration enthusiasts, providing original or compatible parts at fraction of retail prices. Careful inspection of salvaged components is crucial before purchase to ensure functionality and proper fit. For complex mechanical systems like transmissions and engines, reputable machine shops offer rebuilding services that many restorers rely on when specialized equipment or expertise isn’t available in-house. Creating a network of trusted suppliers early in your restoration journey transforms the parts-hunting process from a potential roadblock into an captivating aspect of the restoration experience.
Creating a Methodical Restoration Plan
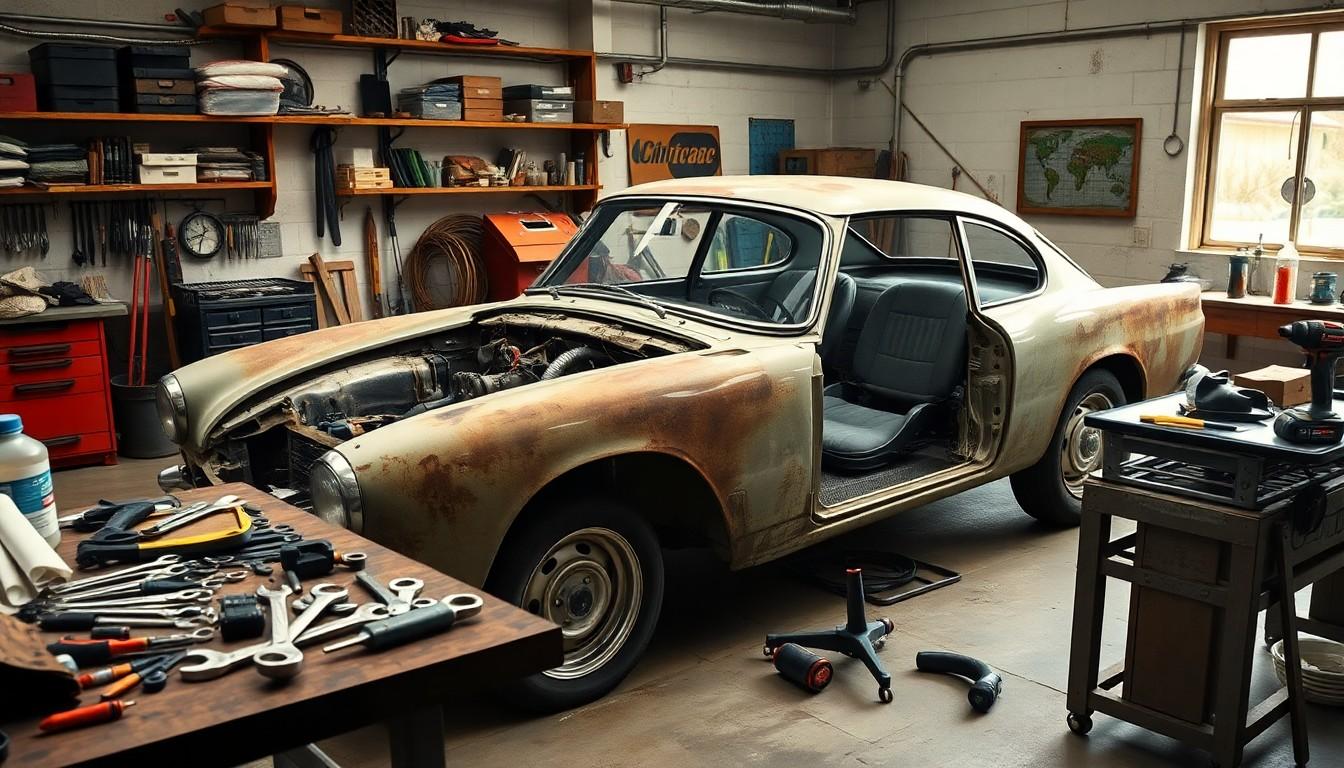
A methodical restoration plan serves as your roadmap throughout the classic car restoration journey. Creating a structured approach ensures you’ll address all necessary aspects of the project in a logical sequence, saving time and preventing costly mistakes.
Initial Assessment and Disassembly
The restoration process begins with a thorough stripping of the vehicle to properly assess its condition. Remove the battery first, then empty all fluids including fuel, transmission fluid, and oil from the car. Take off external components such as bumpers, grills, lights, and side trim to get a complete picture of what you’re working with. This critical first step reveals hidden problems and helps identify exactly which parts need repair or replacement.
Tools play an essential role in this phase. Invest in quality hand tools including box and open-end wrenches, comprehensive screwdriver sets, ratchets with various sockets, pliers, and hex keys. Power tools like drills, specialized equipment such as dent pullers, and safety equipment including jacks and supports are also necessary for handling the disassembly process effectively.
Documentation and Research
Maintaining detailed records forms the backbone of an authentic restoration. Document the car’s original specifications, photograph every component before removal, and create a labeling system for parts to help reassembly later. These records serve as invaluable references throughout the project and help preserve the vehicle’s authenticity.
Research the exact history of your classic car model to understand its unique characteristics and restoration requirements. Factory manuals, period advertisements, and production records provide insights into original specifications and factory-correct details. Joining classic car clubs connects you with knowledgeable enthusiasts who can offer advice and sometimes even access to rare parts.
Create a comprehensive parts list based on your initial assessment. Identify which components need to be re-chromed, rebuilt, or completely replaced. This organized approach allows you to source parts systematically and negotiate better deals when purchasing from specialty stores or salvage yards.
Prioritizing Restoration Phases
Breaking down the restoration into distinct phases keeps the project manageable. The process typically follows this sequence:
- Strip and Assess Phase – Remove all components methodically, documenting their condition and creating a detailed inventory of what needs attention.
- Repair Phase – Focus on structural integrity and safety-critical components first. Address rust repairs, strengthen the underbody, replace worn suspension bushings, and repair other mechanical systems essential for the vehicle’s longevity.
- Restoration Phase – Once critical repairs are complete, move on to bodywork including paint stripping, dent removal, and metal fabrication. Refurbish or replace components like the suspension, differential, and drive shaft according to your restoration goals.
- Improvement Phase – After restoring the car to its original condition, carry out comfort enhancements such as improved sound deadening, new window and door seals, and other upgrades that preserve the classic character while improving driveability.
Safety considerations should always take precedence when scheduling your restoration work. Prioritize brake system overhauls, steering components, and structural repairs before focusing on cosmetic improvements. This approach ensures the vehicle will be both beautiful and roadworthy when completed.
Tackling the Mechanical Systems First
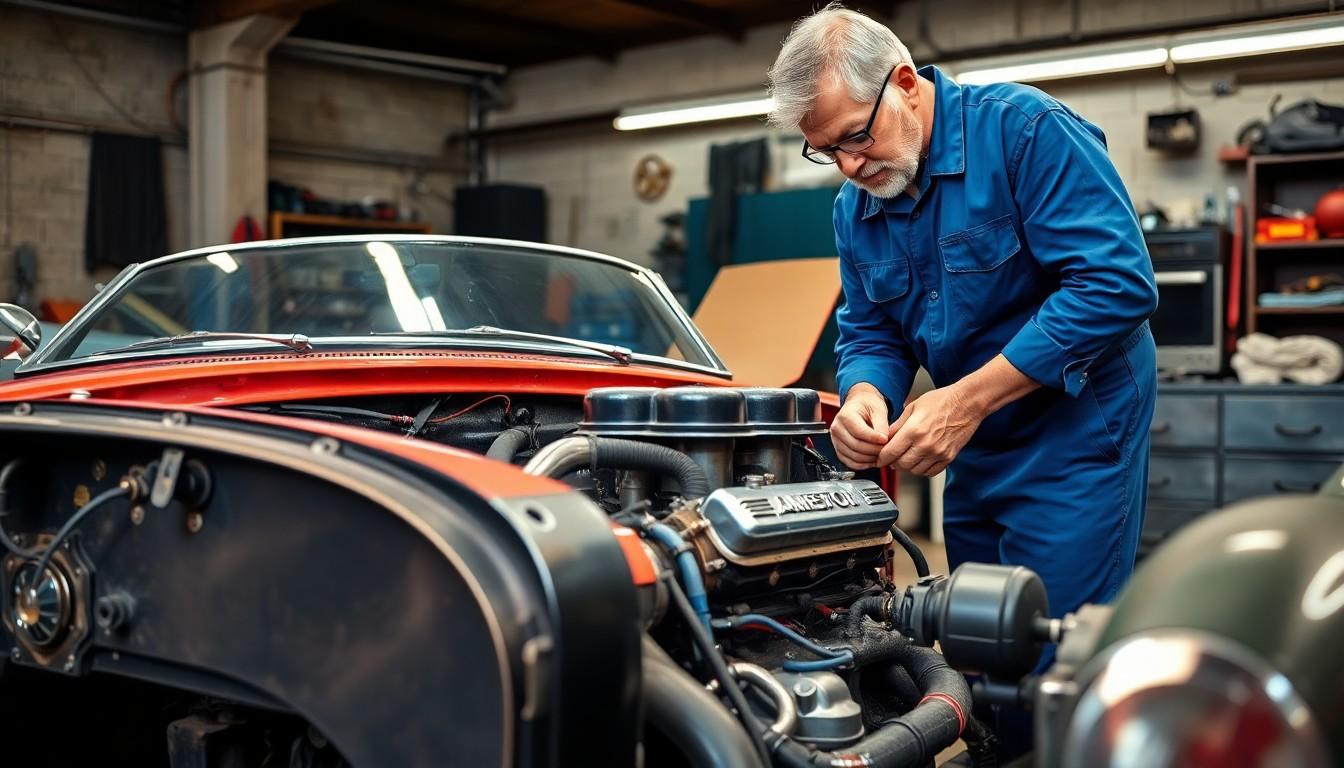
The mechanical systems form the heart of any classic car restoration project. Before diving into cosmetic improvements, addressing these critical components ensures your vintage vehicle will be both beautiful and functional once completed.
Engine and Transmission Evaluation
Engine and transmission restoration requires careful assessment before proceeding with any repairs. Begin by evaluating the condition of both components to determine if rebuilding or replacement is necessary. Remove the battery and drain all fluids including fuel, transmission fluid, and oil to properly inspect these systems. Examine the engine for oil leaks, worn-out seals, and damaged bearings that might indicate deeper issues. Transmission components need similar scrutiny, checking for signs of wear, damage, or corrosion that could affect performance. Consider whether you’ll tackle these complex rebuilds yourself or enlist the expertise of a professional machine shop for precision work. Replacing gaskets, seals, and other perishable parts is essential for long-term reliability, even if the main components appear in good condition.
Suspension and Brake Restoration
Suspension systems demand attention for both safety and authentic driving experience. Replace all suspension bushings and thoroughly refurbish or replace OEM suspension components that show signs of deterioration. Many restorers opt for upgrading to modern components such as coilovers and camber plates to improve handling while maintaining a period-correct appearance. The brake system merits special priority given its critical safety function. Inspect brake components carefully, considering modern brake kit upgrades if the original system proves inadequate by today’s standards. Wheel hubs, bearings, differential, half shaft, and drive shaft often need refurbishment or replacement to ensure proper operation. Proper alignment and adjustment of all suspension and brake components guarantees both safety and authentic handling characteristics that match either factory specifications or your desired performance goals.
Body Restoration Fundamentals
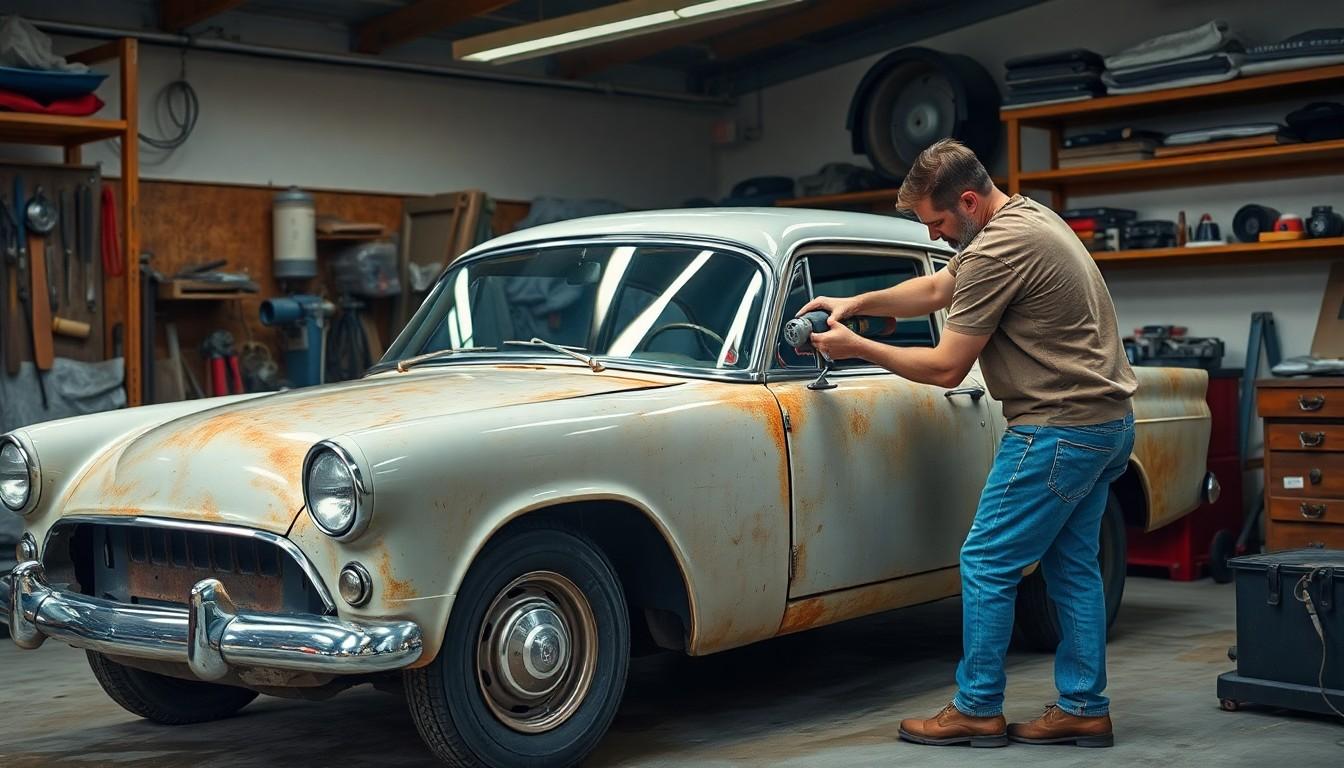
Body restoration forms the backbone of any classic car revival project. The exterior condition not only defines a vehicle’s appearance but also its structural integrity and long-term durability.
Disassembly
Proper disassembly marks the critical first phase of body restoration. Strip the car down to its bare essentials by removing the battery, emptying all fluids including fuel, transmission fluid, and oil, and taking off external components such as bumpers, grills, lights, and trim pieces. This comprehensive dismantling provides unobstructed access to the body shell and reveals hidden problem areas that require attention.
Assessment and Planning
Thorough assessment helps identify the full scope of required repairs before actual work begins. Examine the stripped vehicle to catalog components needing repair or replacement, creating a detailed inventory of necessary parts. This comprehensive list becomes invaluable when negotiating with parts stores, online retailers, or salvage yards, allowing you to secure the best deals on authentic components while maintaining your restoration budget.
Rust Removal and Metal Work
Effective rust removal starts with completely stripping the paint to expose all body imperfections. Using an angle grinder, carefully remove rusty sections down to solid metal, ensuring no corrosion remains to prevent future deterioration. Replace severely damaged areas with new metal panels properly welded in place, maintaining the car’s structural integrity and authentic contours.
Metal repair requires precision tools and techniques for addressing dents and body damage. Specialized equipment like dent pullers, tin cutters, and patch pieces helps restore the metal body to its original specifications. Each imperfection demands individual attention—small dents might require simple pulling techniques, while larger damaged sections often need complete panel replacement for the best results.
Paint Preparation and Application
Surface preparation determines the quality and longevity of your paint finish. After completing all metal work, sand the entire body methodically through progressive grits to achieve a smooth, uniform surface free of imperfections. Apply high-quality primer to ensure proper paint adhesion and corrosion protection before moving to the color coats.
The painting process involves multiple carefully applied thin layers rather than fewer thick coats. Start with a properly mixed base color, applying it evenly across all surfaces with consistent technique and allowing appropriate drying time between applications. Finish with multiple clear coat layers to protect the paint and create that deep, lustrous finish characteristic of professionally restored classics.
Professional-level results require attention to the environment where painting occurs. Temperature, humidity, and dust control significantly impact final quality—many restorers create dedicated paint booths with proper ventilation and filtering systems to achieve showroom-quality finishes on their projects.
Interior Restoration Considerations
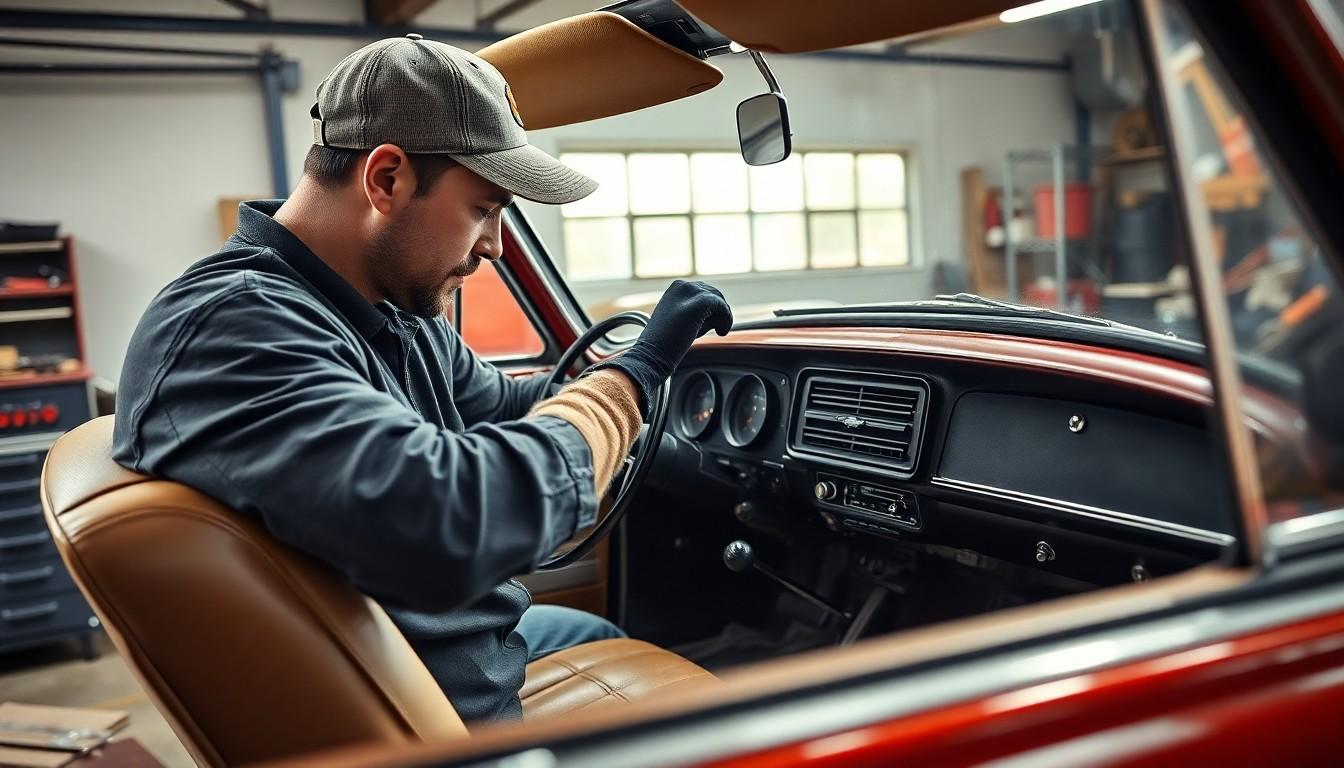
The interior restoration phase transforms your classic car’s cabin into a comfortable, functional space that honors its heritage. Starting with a comprehensive assessment helps identify which components need replacement, refurbishment, or restoration. We’ve outlined the essential steps to guide you through this critical restoration phase.
Assessment and Planning
Interior assessment establishes the foundation for a successful restoration project. Examine each component—seats, carpets, dashboard, and trim pieces—to determine their condition and necessary actions. Taking photos during this stage creates a valuable reference for reassembly and helps track progress throughout the restoration process.
Removal of Interior Components
Completely removing all interior components provides access to hidden issues that might otherwise go unnoticed. Take out seats, carpets, door panels, and the dashboard to inspect for concealed rust or water damage. Careful labeling of parts and hardware during removal prevents confusion and frustration during reinstallation.
Repair and Refurbishment
Seats require special attention as they’re both functional elements and key style components. Reupholster them using original or period-correct materials to maintain authenticity. Carpets and floor mats often need replacement due to decades of wear. Dashboard restoration involves careful refurbishment of gauges, knobs, and trim pieces, along with verification that all electrical components function properly.
Sound Deadening and Insulation
Adding modern sound deadening materials significantly improves the driving experience in classic cars. Apply specialized sprays or mats to the floor and walls to reduce road noise and vibration. These improvements remain invisible while making the vehicle more comfortable for regular driving.
Window and Door Seals
Fresh window and door seals prevent water infiltration and wind noise—common issues in vintage vehicles. Replace deteriorated rubber components with quality reproductions designed specifically for your model. Proper sealing protects your newly restored interior from environmental damage and enhances cabin comfort.
Full Interior Kit or Carpet Kit
Pre-assembled interior kits simplify the restoration process by providing all necessary components in matching specifications. These comprehensive packages include seats, carpets, door panels, and other interior elements designed to fit your exact classic car model. Kits ensure consistency in materials and colors throughout the cabin.
Sound System
Integrating modern audio capabilities requires careful planning to preserve the classic aesthetic. Select components that can be discreetly installed without compromising the dashboard’s original appearance. Ensure any electrical modifications are compatible with your car’s existing wiring to prevent overloading the system.
Comfort Improvements
Strategic comfort upgrades enhance usability without sacrificing authenticity. Replace worn headliners, restore steering wheels, and repair interior mechanisms like window regulators and door handles. These functional improvements make your classic car more enjoyable for regular driving while maintaining its period-correct appearance.
Getting Help When You Need It
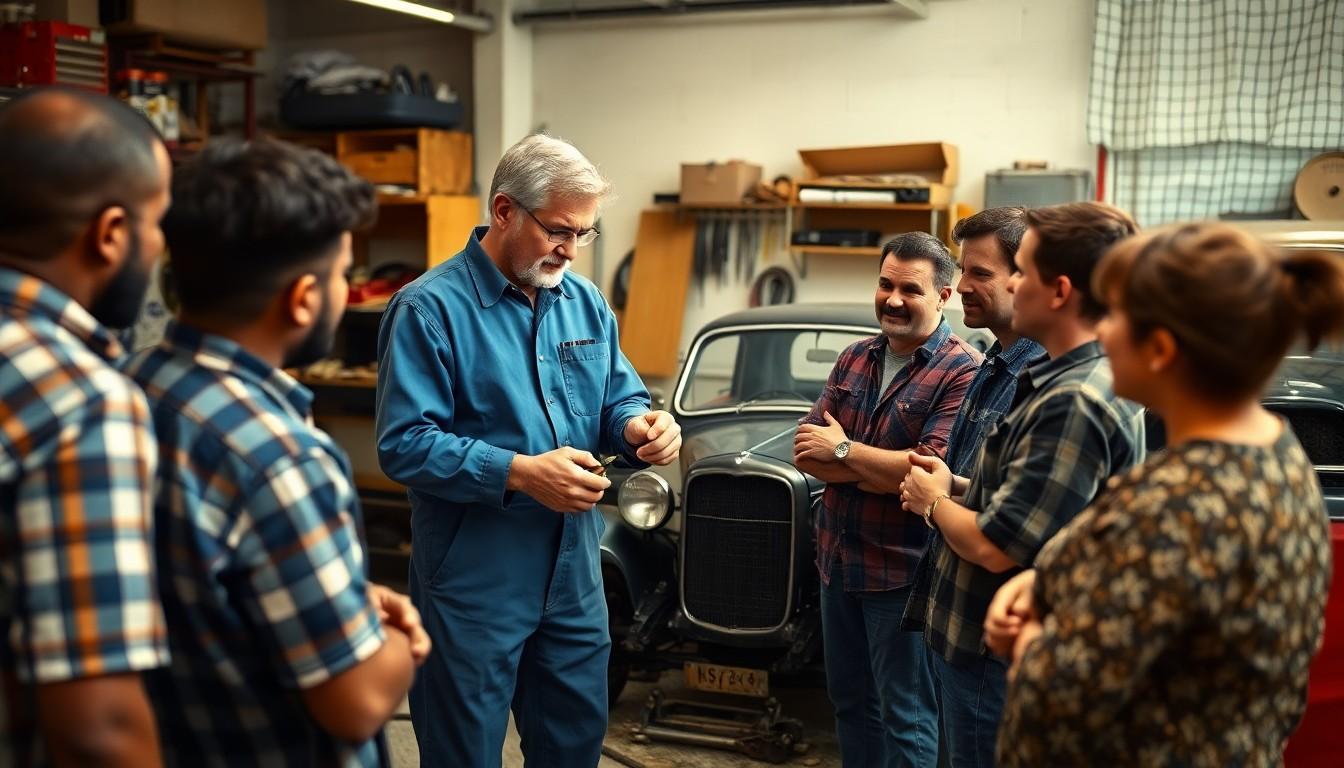
Classic car restoration often requires expertise beyond what one person possesses. Joining a classic car club connects you with fellow enthusiasts who share valuable knowledge and experience. These communities offer practical advice, troubleshooting tips, and sometimes even hands-on assistance with challenging aspects of your restoration project.
Online Resources and Communities
Online forums and dedicated websites provide 24/7 access to restoration guidance from experts worldwide. Step-by-step tutorials, restoration guides, and video demonstrations break down complex processes into manageable tasks. Many classic car forums include model-exact sections where you’ll find answers to problems unique to your vehicle’s make and year.
When to Seek Professional Help
Some restoration tasks demand specialized skills or equipment that’s impractical for the average home restorer. Engine and transmission rebuilding often requires sending components to a machine shop for professional service. Experts recommend outsourcing complex mechanical work if you lack experience in these areas, as mistakes can be costly.
Parts requiring re-chroming also typically need professional attention. Specialized chrome shops restore metal trim, bumpers, and decorative elements to their original luster using industrial processes not feasible in home garages.
Learning New Skills
Classic car restoration presents countless opportunities to expand your mechanical abilities. Each challenging task mastered builds confidence for tackling more complex aspects of your project. Safety remains paramount during the learning process, especially when performing structural repairs or working with potentially dangerous chemicals and tools.
Building relationships with mentors from car clubs or restoration shops creates valuable learning opportunities. Many experienced restorers enjoy passing their knowledge to the next generation of classic car enthusiasts, offering guidance that can’t be found in manuals or online tutorials.
Conclusion
Restoring a classic car is truly a labor of love that rewards patience and dedication. We’ve walked through the essential starting points that will set you up for success on this exciting journey. By carefully selecting the right vehicle assessing your skills and establishing realistic budgets and timelines you’re building a solid foundation for your project.
Remember that documentation thorough planning and seeking help when needed are key elements that can make the difference between frustration and fulfillment. The path may seem overwhelming at times but each small victory brings you closer to the day you’ll turn the key and hear your restored classic roar to life.
With the right approach your restoration project won’t just revive a piece of automotive history it’ll create memories and skills that last a lifetime. Happy restoring!
Frequently Asked Questions
How long does a classic car restoration typically take?
A classic car restoration can take anywhere from several months to several years, depending on the vehicle’s condition, your skill level, and available time. For a comprehensive restoration, expect at least 1-2 years of consistent work. Part-time restorers may need 3-5 years. Remember that quality work cannot be rushed, especially with older vehicles that may present unexpected challenges.
What is the average cost of restoring a classic car?
The cost varies dramatically based on the car model, condition, and restoration goals. A basic restoration might cost $10,000-$30,000, while concours-quality restorations can exceed $100,000. Budget for parts, specialized tools, workshop space, professional help for complex tasks, and unexpected expenses. Create a detailed budget with a 20% contingency for surprises.
Do I need special skills to restore a classic car?
While basic mechanical knowledge and DIY experience are helpful, many skills can be learned during the restoration process. Begin with tasks matching your current abilities and gradually tackle more complex challenges. Consider taking automotive courses, watching tutorials, and joining car clubs. For specialized work like engine rebuilding or bodywork, you can either learn these skills or hire professionals.
Where can I find parts for my classic car?
Parts can be sourced from specialty suppliers, online marketplaces, swap meets, salvage yards, and classic car clubs. Establish relationships with reliable vendors who specialize in your make and model. For rare components, reproduction parts or custom fabrication may be necessary. Online forums specific to your vehicle can provide valuable leads on hard-to-find items.
Should I restore a car to original condition or modify it?
This depends on your goals. Maintaining originality typically preserves or increases value, especially for rare models. However, tasteful modifications can improve driveability, safety, and comfort without significantly affecting value. Consider your intended use—whether it’s for shows, regular driving, or both—and make a decision that aligns with your vision for the vehicle.
What should I look for when buying a classic car for restoration?
Focus on structural integrity, rust severity, parts availability, and authenticity. Verify the VIN and research the vehicle’s history. Examine the body for hidden damage and the mechanical systems for completeness. Consider the car’s rarity and desirability, which affect both restoration costs and future value. Always choose a vehicle that genuinely excites you, as passion sustains long-term projects.
How important is documentation during a restoration project?
Documentation is crucial. Take extensive photos before and during disassembly, label all parts, and maintain detailed notes about the vehicle’s original condition. This creates a valuable reference for reassembly and preserves the car’s history. Keep receipts for parts and services, as good documentation increases the car’s value and credibility when completed.
Can I restore a classic car in my home garage?
Yes, many successful restorations happen in home garages. Ensure you have adequate space (at least a two-car garage), proper lighting, ventilation, and basic tools. Consider the limitations of your workspace regarding noise, dust, and fumes, especially for tasks like sanding and painting. Some projects may require temporary professional workspace rental for specific phases.
What tools are essential for classic car restoration?
Start with quality hand tools (wrenches, screwdrivers, pliers), a floor jack with stands, power tools (drill, grinder), a compressor for air tools, and safety equipment. Add specialty tools as needed for your specific project. Tool investment should be proportional to your project scope—more comprehensive restorations require more specialized equipment.
How do I maintain authenticity while upgrading safety features?
Focus on subtle, reversible upgrades that preserve the car’s character. Consider modern disc brake conversions that use original mounting points, hidden electronic ignition systems, and period-correct-looking seat belts. Research what other restorers have done with similar models. Document all original components so future owners can return the vehicle to factory specifications if desired.

