Are you hearing that dreaded rattling noise from your Harley’s primary case? You’re not alone. We’ve seen countless riders struggle with automatic primary chain tensioner problems on their beloved Harleys, an issue that can quickly escalate from an annoying sound to serious mechanical damage.
The automatic primary chain tensioner (APCT) was Harley-Davidson’s solution for maintaining proper chain tension, but it’s become one of the most common failure points on many models. When these tensioners fail, they often create metal debris inside your primary case, potentially causing thousands in damage. We’ll guide you through identifying the warning signs, understanding the root causes, and exploring the most effective answers to this common Harley headache.
Understanding Harley’s Automatic Primary Chain Tensioner
The automatic primary chain tensioner (APCT) functions as a critical component in Harley-Davidson motorcycles, maintaining proper tension on the primary chain that connects the engine to the transmission. Introduced as an improvement over manual tensioners, the APCT was designed to eliminate the need for regular adjustments while riding. This spring-loaded device automatically compensates for chain stretch and wear by applying constant pressure against the chain.
Harley’s tensioner system consists of a shoe that presses against the chain, a spring mechanism that provides pressure, and a ratcheting system that prevents the tensioner from backing off. Many Harley models manufactured between 1999 and 2006 came equipped with this system, including popular Softail, Dyna, and Touring motorcycles. The tensioner’s location inside the primary chaincase makes it difficult to inspect without partial disassembly of the motorcycle.
Even though its innovative design, the APCT has become notorious for creating problems rather than solving them. Its ratcheting mechanism often locks up in extended positions, creating excessive chain tension that accelerates wear on related components. Common failure points include worn springs that lose tension, plastic shoes that crack under pressure, and seized ratchet mechanisms that can’t respond to changing chain conditions. These design flaws have led many riders to replace the automatic system with aftermarket manual tensioners that offer more reliable performance and easier maintenance.
Common Problems With Harley Automatic Primary Chain Tensioners
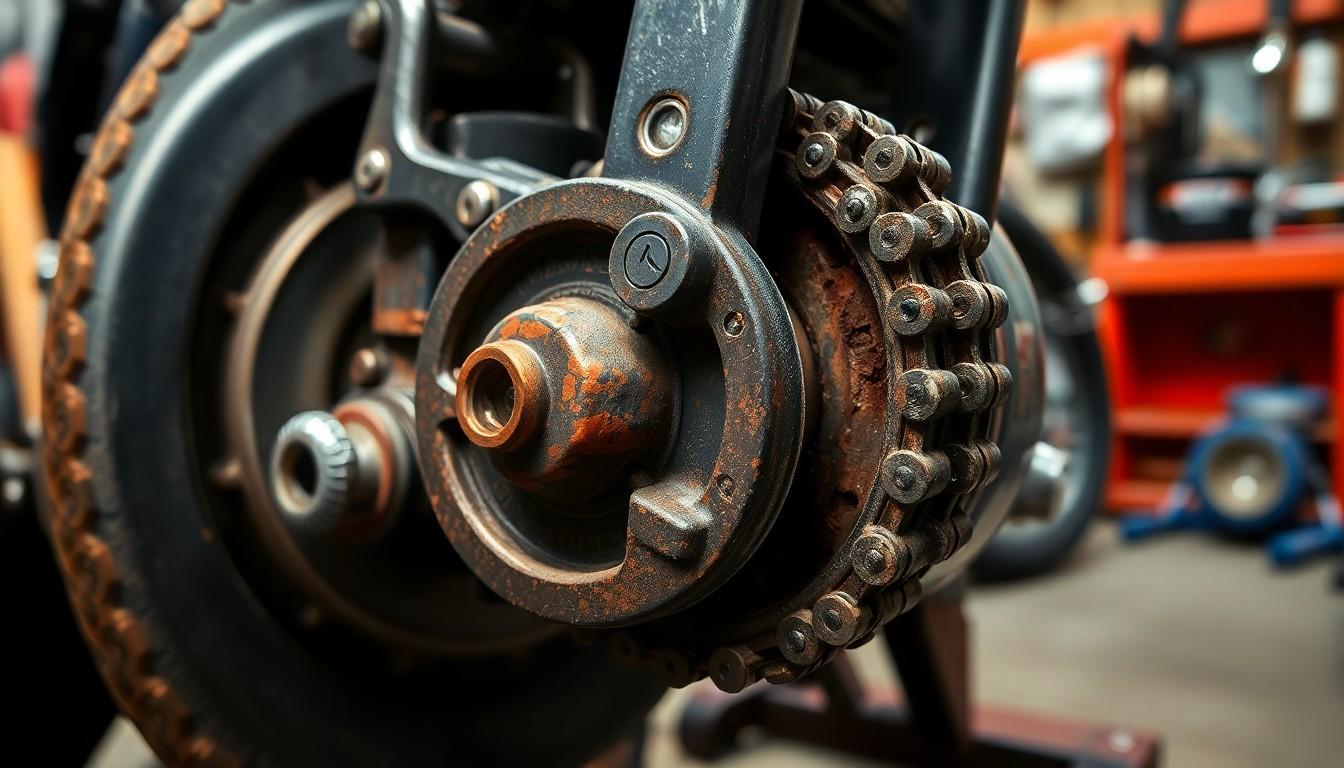
Harley-Davidson’s automatic primary chain tensioners (APCT) are notorious for several recurring issues that can affect your bike’s performance and longevity. These problems have prompted many riders to seek alternatives or upgrades to avoid potential mechanical damage.
Excessive Wear and Tear
The plastic shoe on Harley’s automatic primary chain tensioner deteriorates rapidly with regular use. Many riders report replacing this component around the 40,000-mile mark or even earlier due to important wear. This excessive degradation creates a maintenance burden that contradicts the “automatic” advantage these tensioners were designed to provide. The 2010 upgrade to part number #39929-06B attempted to address this issue, but many owners still experience premature wear even though this improvement.
Hydraulic Failures and Leaks
While Harley’s documentation doesn’t specifically detail hydraulic failures, the tensioner’s mechanical components frequently malfunction. These failures manifest as inconsistent tension control and diminished performance over time. The tensioner’s inability to maintain proper hydraulic pressure contributes to the chain tension problems experienced by many riders. Mechanical failures often result from the tensioner’s basic design, which struggles to consistently perform under the varying conditions experienced during normal riding.
Tension Inconsistencies
One critical flaw with the automatic primary chain tensioner is its tendency to overtighten the primary chain. This overtightening occurs especially when the engine cools after shutdown, as metal components contract and create excessive pressure. The undue strain affects both the transmission’s main shaft and the engine’s crankshaft, potentially forcing them out of alignment. Mechanics and riders report mixed experiences, with some noting important problems including bearing failures directly attributed to this overtightening issue. These inconsistencies create unpredictable wear patterns throughout the primary drive system.
Warning Signs of Primary Chain Tensioner Issues
Identifying problems with your Harley-Davidson automatic primary chain tensioner early can save you from costly repairs down the road. The tensioner often exhibits several telltale signs before complete failure occurs, allowing attentive riders to address issues proactively.
Unusual Noise Patterns
Distinctive sounds from your primary chain area serve as the most immediate indicator of tensioner problems. Clunking, rattling, or grinding noises typically emerge when starting the engine or shifting gears. These sounds result from the tensioner over-tightening the primary chain, creating excessive stress on connected components. Many riders report these noises intensify during cold starts when metal contraction further exacerbates the tension issues. Knocking sounds that increase with RPM changes generally indicate advanced tensioner problems requiring immediate attention.
Performance Changes During Rides
Your motorcycle’s performance noticeably deteriorates when the primary chain tensioner malfunctions. Reduced power delivery, rough idling, and difficult gear shifts are common symptoms experienced during rides. These issues stem from the over-tightened primary chain exerting undue pressure on the transmission’s main shaft and the engine’s crankshaft, potentially forcing them out of alignment. Transmission hesitation, especially when transitioning between first and second gear, often indicates excessive chain tension. Acceleration inconsistencies and power delivery lapses during steady throttle application point to progressive tensioner failure affecting drivetrain efficiency.
Over-Tightening and Chain Slack
The automatic tensioner’s design flaw causes it to overtighten the primary chain when the engine cools down. Proper chain slack is essential for optimal engine and transmission function, but the tensioner eliminates this necessary flexibility. Metal contraction after shutdown further compounds this issue, increasing tension to potentially damaging levels. This constant over-tensioning leads to premature wear on bearings, sprockets, and the chain itself. Physical inspection revealing virtually no play in the primary chain indicates the tensioner is applying excessive pressure.
Bearing Failures
Premature bearing failures frequently correlate with automatic primary chain tensioner issues. Excessive chain tension places abnormal stress on both transmission and engine bearings, accelerating their deterioration. While not all bearing failures stem directly from tensioner problems, the relationship is important enough that mechanics often check tensioner condition when diagnosing bearing issues. The 2010 upgraded tensioner (part #39929-06B) aimed to address this problem but still sees mixed results in preventing bearing damage.
Excessive Wear on Components
The plastic shoe component of the automatic tensioner typically requires replacement around the 40,000-mile mark or sooner. Accelerated wear patterns on this shoe indicate the tensioner is working harder than designed. Inspection often reveals scoring, cracking, or complete erosion of the plastic surface where it contacts the chain. This excessive wear transfers to other drivetrain components, creating a cascade of potential failures throughout the primary drive system. Many riders opt for manual tensioner conversions after discovering important wear during routine primary cover service.
The Impact of Faulty Tensioners on Your Harley
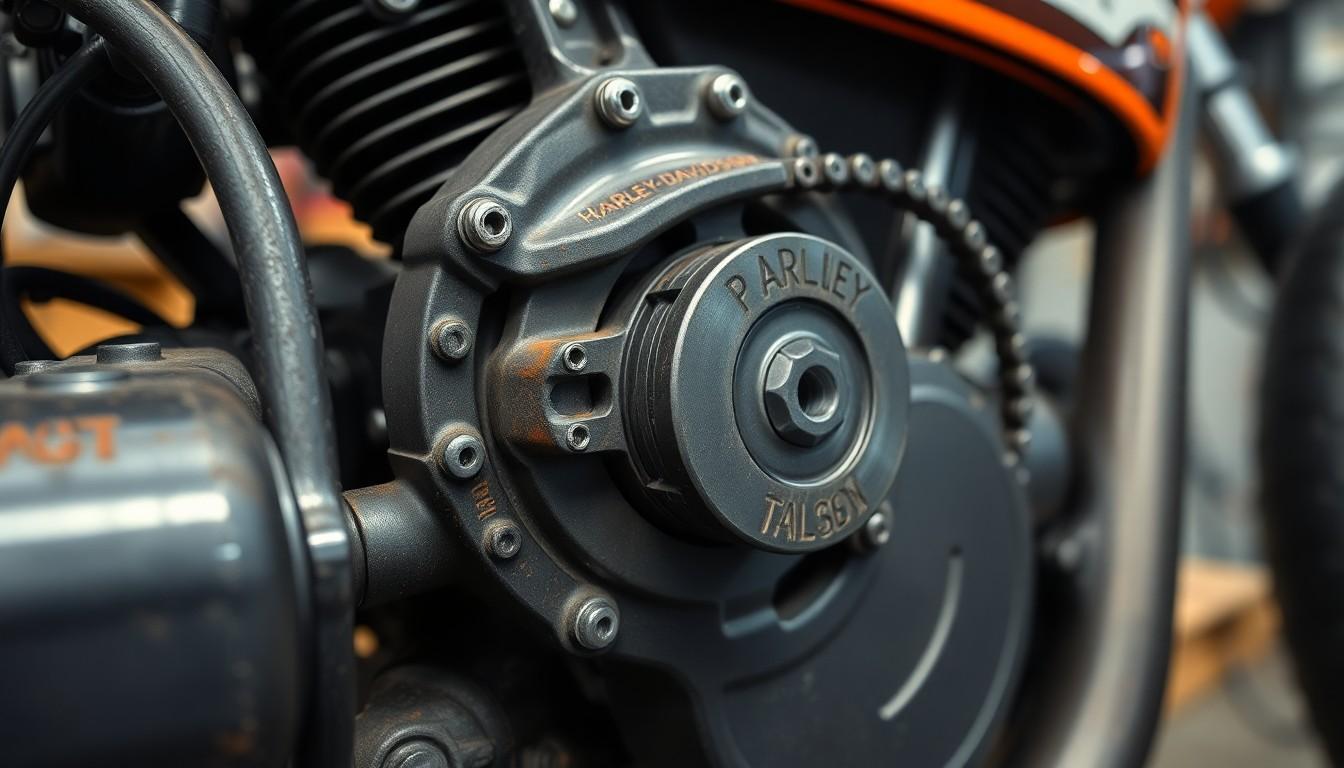
Faulty automatic primary chain tensioners on Harley-Davidson motorcycles can lead to severe mechanical complications that affect both engine integrity and overall performance. These issues often develop gradually but can result in substantial repair costs when left unaddressed.
Engine Damage Risks
Over-tensioning of the primary chain represents one of the most important threats to your Harley’s engine. The automatic tensioner frequently causes excessive tightness in the primary chain, particularly during cooling periods when metal components contract. This excessive tension places undue pressure on the transmission’s main shaft and the engine’s crankshaft, potentially forcing these critical components out of alignment. Bearing failures commonly result from this misalignment issue, creating a domino effect of mechanical problems throughout the powertrain. Many Harley owners report having to replace expensive bearings due to damage caused by improper chain tension maintained by the factory tensioner system.
Performance Degradation
Primary chain tensioner problems directly impact your Harley’s performance and ride quality. The continuous tightening and loosening cycle that occurs as you apply and release the throttle creates unpredictable chain tension, resulting in inconsistent power delivery to the rear wheel. This uneven tension affects the clutch system and compensator, forcing these components to work harder than necessary and accelerating their wear rate. Riders often notice subtle changes in their motorcycle’s responsiveness, with hesitation during acceleration and poor idle quality becoming increasingly apparent as tensioner problems worsen. Harley-Davidson attempted to address these issues with an upgraded tensioner (part #39929-06B) in 2010, though many owners still opt for aftermarket manual tensioners for more reliable performance and enhanced control over their bike’s primary drive system.
Repair and Replacement Options
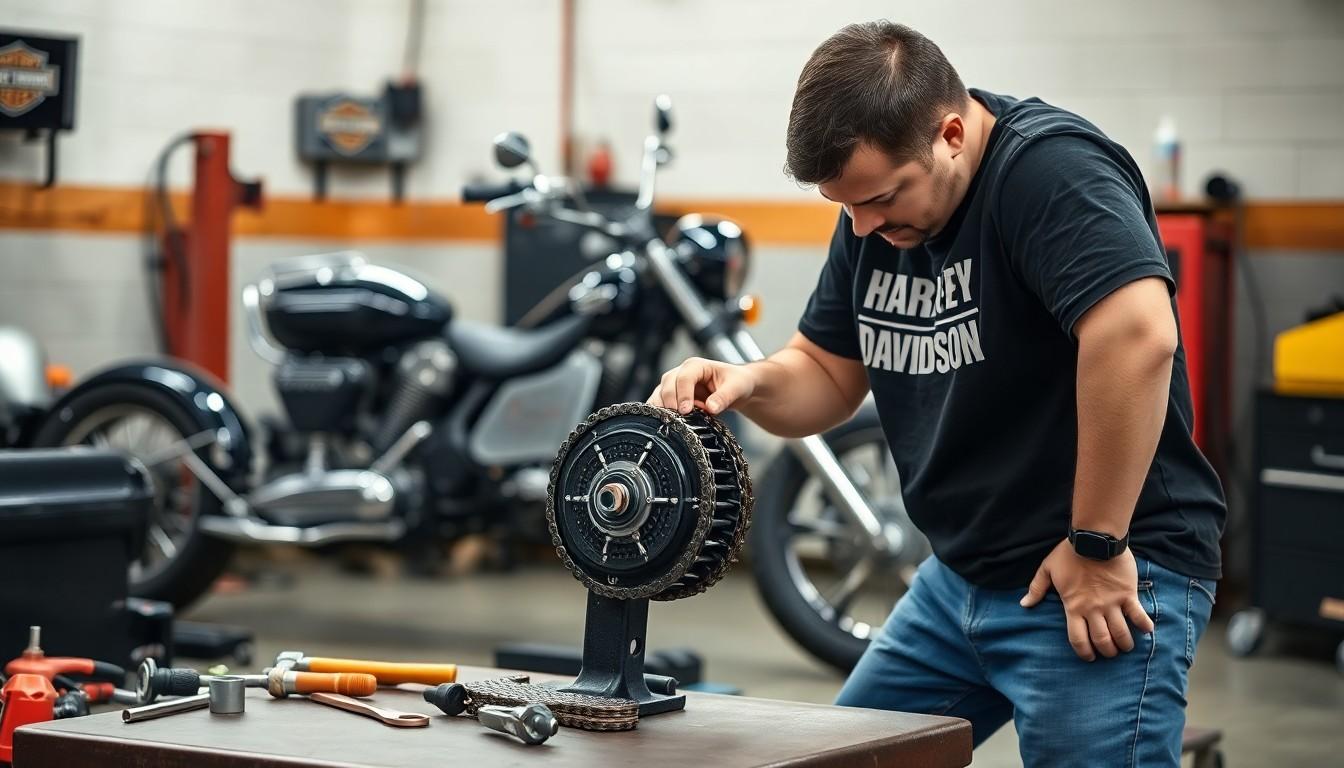
Addressing Harley automatic primary chain tensioner problems requires either DIY answers or professional help. Let’s explore both approaches to resolve these issues effectively and prevent further damage to your motorcycle.
DIY Replacement
Manual chain tensioner replacement offers a reliable solution to automatic tensioner problems. The Baker manual tensioner model serves as a popular alternative that eliminates the over-tightening issues common with factory automatic tensioners.
The replacement process requires exact tools including an extra long zip tie, flathead screwdriver, torque wrench, Allen wrench, and a 1/2 inch wrench or ratchet. Begin by securing the old tensioner with a zip tie to lock it down, then remove it using an electric impact tool. Installation of the new manual tensioner follows, allowing you to set the precise chain tension needed for optimal performance.
Harley-Davidson offers a retro kit (part number 40063-05B) for 1985-2006 models, though this upgrade doesn’t fully address the inherent design flaws of the automatic tensioner system. Many riders opt for aftermarket manual tensioners instead for more reliable long-term performance.
DIY Troubleshooting Steps
Primary chain tension checking forms the first step in diagnosing tensioner issues. Try moving the chain by hand – excessive tightness or insufficient play indicates potential tensioner problems.
Over-tightening identification requires looking for exact signs such as a visible loop in the top section of the chain or excessive pressure between the main shaft and crankshaft. These symptoms often appear when the automatic tensioner fails to release proper tension, especially after the engine cools down.
Adjustment procedures involve removing the primary cover, draining the oil, and setting the tensioner to its minimum position. This allows the mechanism to properly ratchet back up to achieve correct tension without over-tightening the chain.
Professional Repair Considerations
Mechanical consultation provides valuable insight when dealing with complex tensioner issues. Experienced Harley-Davidson mechanics offer varying perspectives – some report few problems with automatic tensioners, while others strongly recommend switching to manual models based on recurring repair patterns.
Bearing failure assessment becomes necessary when tensioner problems have persisted. Professional mechanics can evaluate and replace damaged bearings alongside installing a new tensioner, addressing both the symptoms and the root cause of the problem.
Aftermarket answers like the TwinPower manual adjusting chain tensioner offer professional-grade alternatives to factory components. These specialized parts often deliver superior performance and reliability when installed by qualified mechanics, effectively preventing the alignment issues and excessive pressure that automatic tensioners frequently cause.
Aftermarket Solutions and Upgrades
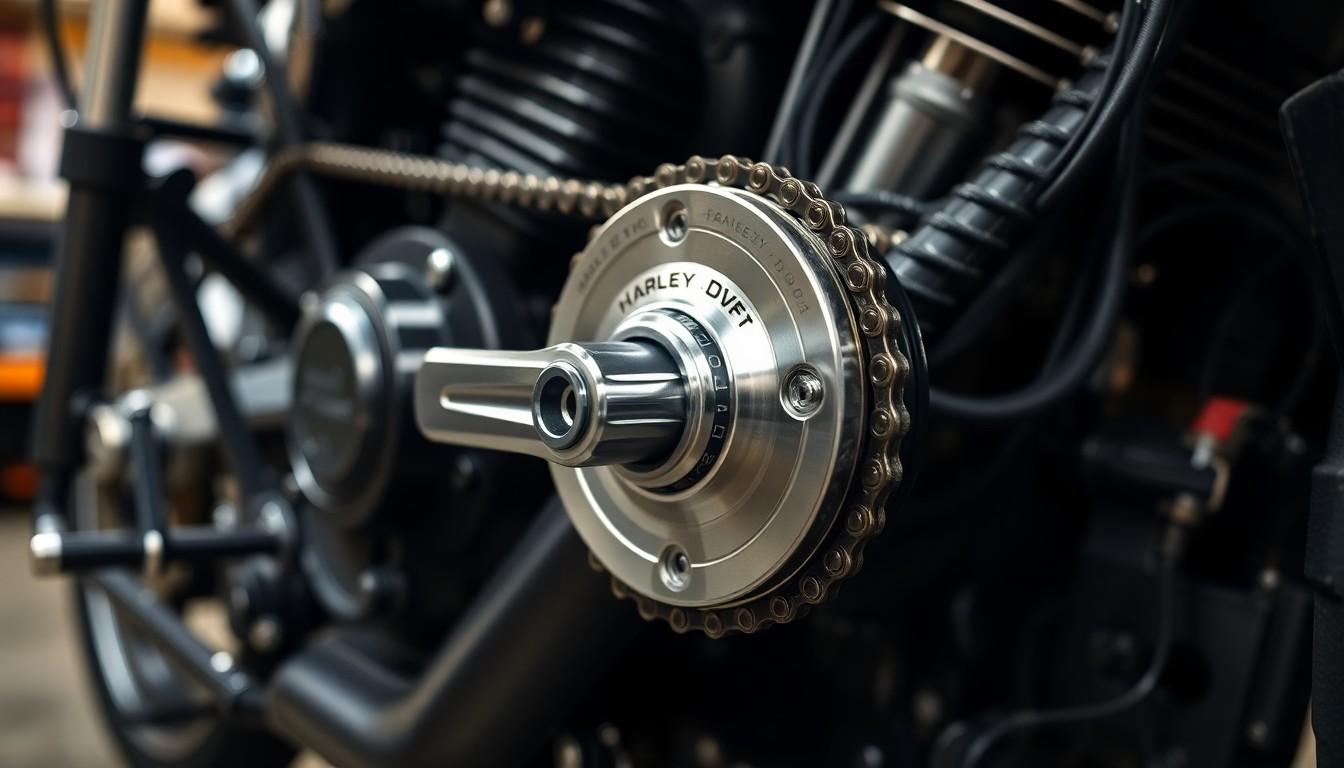
Many Harley riders have turned to aftermarket answers to address the persistent problems with automatic primary chain tensioners. These alternatives provide more reliable performance and reduce the risk of mechanical damage to your motorcycle.
Manual Tensioner Conversions
Manual adjusting chain tensioners offer a reliable alternative to Harley’s problematic automatic system. Converting to a manual tensioner from manufacturers like Baker or Twin Power eliminates the over-tensioning issues that plague the factory components. These manual systems require periodic adjustment but dramatically reduce the risk of bearing failures and alignment problems between the transmission’s main shaft and the engine’s crankshaft. Installation typically requires following manufacturer torque specifications of 15-19 foot-pounds for optimal performance. Most riders find the minimal maintenance of occasional adjustments well worth the improved reliability and extended component life that comes with a manual tensioner.
Premium Replacement Options
Several high-quality options exist for riders seeking premium answers to automatic tensioner problems. Twin Power offers American-made replacement components designed specifically to address the weaknesses in factory tensioners while allowing reuse of original hardware. Harley-Davidson also produces a retro kit for 1985-2006 models, though riders should consider the potential issues associated with automatic tensioners before choosing this option. Premium replacements typically come with comprehensive installation instructions to ensure proper setup and function. These higher-end options may cost more initially but provide important value through improved reliability and reduced maintenance costs over time.
Preventative Maintenance Tips
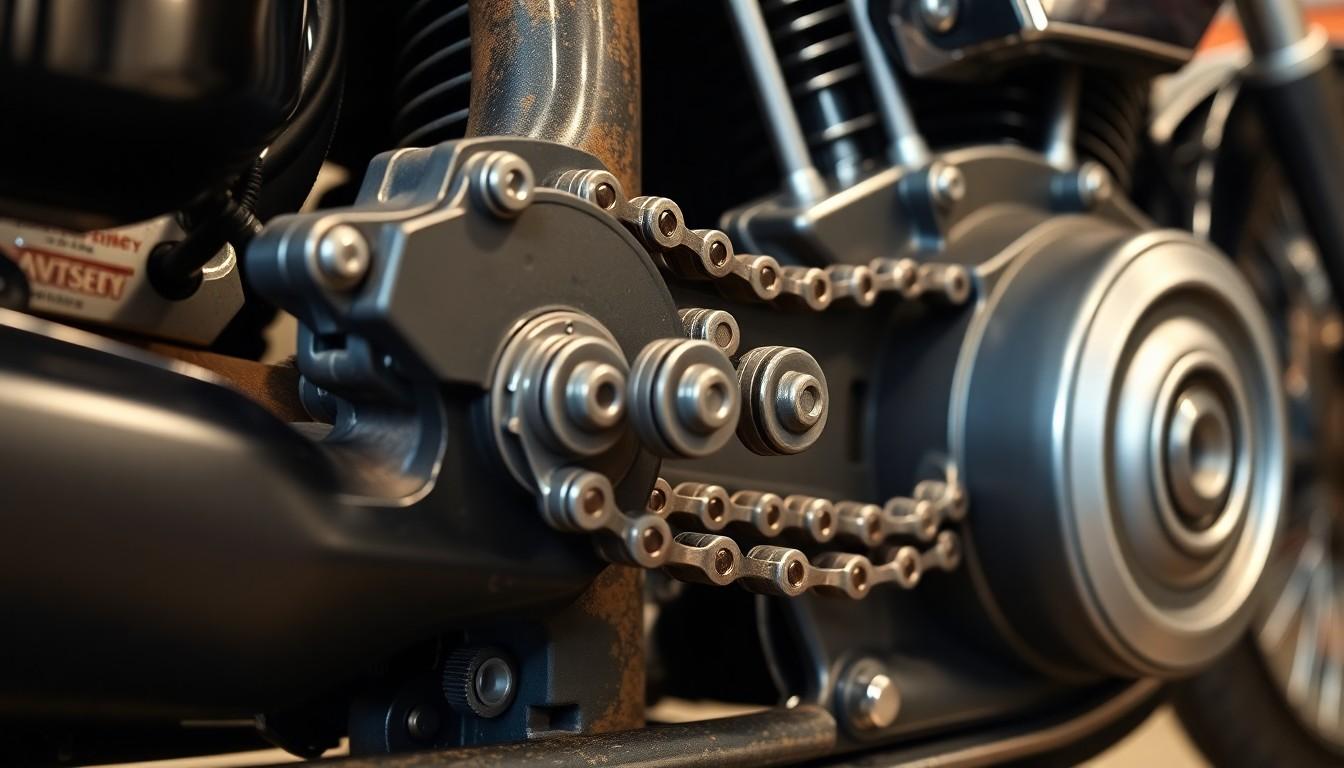
Regular inspection forms the foundation of effective maintenance for your Harley’s primary chain system. Checking the primary chain and tensioner for signs of wear or over-tightening helps prevent catastrophic failures down the road. It’s essential to verify that chain slack remains within the specifications outlined in the Harley-Davidson service manual.
Upgrading the Tensioner
Harley-Davidson addressed some common issues in 2010 with an upgraded primary auto tensioner (part number #39929-06B). This improved version offers better performance than previous models and is worth considering if you’re riding with an older tensioner. Many riders report fewer issues after upgrading to this enhanced component.
Manual Adjustment
Converting to a manual adjusting chain tensioner eliminates the problems associated with automatic over-tightening. This modification requires periodic adjustments to maintain proper chain slack, but gives you complete control over the system. Many experienced riders prefer this approach for its reliability and simplicity.
Proper Installation
Installing or replacing your tensioner demands attention to detail for optimal performance. Always tighten the bolts to the specified torque of 15 to 19 foot-pounds as recommended in the service manual. Avoid using Loctite unless absolutely necessary, as it can complicate future maintenance.
Monitoring Chain Slack
Consistent monitoring of chain slack prevents excessive tension that can damage bearings and other components. Regular checks allow you to catch problems early and make necessary adjustments. The primary chain should have just enough slack to prevent binding while avoiding excessive movement that can cause wear and noise.
Conclusion
Addressing Harley’s automatic primary chain tensioner problems is essential for maintaining your bike’s performance and preventing costly damage. By recognizing early warning signs like unusual noises and monitoring your primary chain’s tension we can avoid serious mechanical failures.
Whether you choose to upgrade to the improved 2010 APCT version or convert to a manual tensioner from manufacturers like Baker or Twin Power the investment will pay dividends in reliability and peace of mind.
Regular inspections and proper maintenance remain your best defense against these common issues. With the right approach these tensioner problems don’t have to derail your riding experience or damage your beloved Harley. Taking proactive steps now will keep your motorcycle running smoothly for years to come.
Frequently Asked Questions
What is the automatic primary chain tensioner (APCT) in Harley-Davidson motorcycles?
The APCT is a critical component in Harley-Davidson motorcycles that automatically maintains proper tension on the primary chain connecting the engine to the transmission. It uses a spring-loaded mechanism to compensate for chain stretch and wear, eliminating the need for regular manual adjustments. This system is common in models manufactured between 1999 and 2006, including Softail, Dyna, and Touring motorcycles.
What are the common problems with Harley’s automatic primary chain tensioner?
Common problems include excessive wear of the plastic shoe (typically needing replacement around 40,000 miles), hydraulic failures and leaks causing inconsistent tension, and a tendency to overtighten the primary chain. This overtightening can cause alignment issues between the transmission main shaft and engine crankshaft, leading to unpredictable wear patterns and potential bearing failures.
What warning signs indicate primary chain tensioner issues?
Warning signs include unusual noises (clunking or grinding sounds, especially during cold starts), performance changes (reduced power delivery and rough idling), premature bearing wear, and visible wear on the tensioner’s plastic shoe. Early detection of these symptoms is crucial to prevent costly repairs and component damage.
Can a faulty tensioner cause serious mechanical problems?
Yes, a faulty tensioner can cause severe mechanical complications. Over-tensioning can lead to misalignment of critical components, resulting in bearing failures and costly repairs. It also affects power delivery and ride quality, creating noticeable changes in responsiveness and acceleration. The strain on various components can ultimately compromise engine integrity and overall performance.
What repair options are available for APCT problems?
Repair options include replacing the automatic tensioner with a manual model (like the Baker manual tensioner), which prevents over-tightening issues. This can be done as a DIY project with specific tools or by a professional mechanic. For complex issues, mechanics can assess bearing failures and recommend appropriate solutions, often suggesting aftermarket manual tensioners for better performance.
What aftermarket solutions are popular for replacing the automatic tensioner?
Popular aftermarket solutions include manual tensioner conversions from manufacturers like Baker and Twin Power. These eliminate over-tensioning problems but require periodic adjustments. Premium replacement options include American-made components from Twin Power and Harley-Davidson’s retro kit for older models. These alternatives offer improved reliability and potentially reduced long-term maintenance costs.
When should I consider upgrading my primary chain tensioner?
Consider upgrading when you notice unusual noises, performance changes, or after reaching approximately 40,000 miles when wear typically becomes significant. If you own a 1999-2006 Harley-Davidson with the original APCT, preventative replacement is often recommended even before problems arise. Many riders upgrade preemptively to avoid the common failures associated with the original design.
How can I maintain my primary chain system to prevent tensioner problems?
Perform regular inspections of the primary chain and tensioner to catch early signs of wear or over-tightening. Consider upgrading to the 2010 version of the APCT or converting to a manual tensioner for better control. Ensure proper installation techniques and consistently monitor chain slack to prevent excessive tension and potential damage to bearings and other components.

