Understanding your Honda Pilot’s firing order is essential for maintaining optimal engine performance. Whether you’re troubleshooting misfires or replacing spark plugs, knowing the correct sequence can save you time and prevent potential damage to your vehicle.
We’ll walk you through everything you need to know about the Honda Pilot firing order, including the standard 3.5L V6 configuration most models use. Many DIY mechanics overlook this critical detail, but it’s surprisingly simple once you grasp the basics. With our straightforward guide, you’ll be able to confidently handle maintenance tasks that require knowledge of cylinder positioning and firing sequence.
Understanding the Honda Pilot Engine Layout
The Honda Pilot uses a V6 engine configuration with cylinders arranged in two banks. Each bank contains three cylinders positioned at an angle, forming a “V” shape when viewed from the front of the vehicle. This design optimizes space under the hood while providing excellent power delivery and balance.
In most Honda Pilot models, particularly those with the popular 3.5L V6 engine, the cylinders are numbered in a exact pattern. Cylinders 1-3 are located on the front bank (closest to the radiator), while cylinders 4-6 are positioned on the rear bank (closer to the firewall). This numbering system is crucial to understand when working with the firing order.
The transverse mounting of the engine places it sideways in the engine bay, with the front of the engine facing the passenger side of the vehicle. This orientation affects how the cylinders are accessed during maintenance tasks like spark plug replacement or ignition coil service. Technicians often find cylinders on the rear bank more challenging to reach due to their position against the firewall.
Honda engineers designed this layout to maximize interior cabin space while maintaining excellent weight distribution. The compact V6 arrangement allows for a shorter engine bay, contributing to the Pilot’s spacious interior without compromising performance or handling characteristics.
What Is Firing Order and Why It Matters
Firing order represents the exact sequence in which spark plugs ignite fuel in an engine’s cylinders. In the Honda Pilot’s 3.5L V6 engine, the standard firing order follows the pattern 1-4-2-5-3-6, ensuring each cylinder fires at precisely the right moment during engine operation. This carefully engineered sequence isn’t arbitrary—it’s designed to balance the engine’s operation for optimal performance.
Engine Smoothness and Performance
The firing order distributes power strokes evenly throughout the engine’s rotation cycle. When cylinders fire in the correct sequence, vibrations are minimized and power delivery becomes smoother. Each Honda Pilot engine performs at its best when the firing order is maintained correctly, resulting in responsive acceleration and consistent power output. Deviations from the proper sequence often cause noticeable misfires, reduced power, and increased fuel consumption.
Engine Longevity
Proper cylinder firing sequence extends your Honda Pilot’s engine life significantly. The correct order ensures balanced forces within the engine, preventing excessive stress on crankshaft bearings and other critical components. Engine harmonics remain controlled when cylinders fire in their designated sequence, reducing wear patterns that could otherwise damage internal parts. Many Honda Pilots reach high mileage milestones when their firing orders remain correctly configured throughout their service lives.
Diagnostic and Repair
Understanding firing order simplifies troubleshooting potential engine issues in your Honda Pilot. Mechanics and DIY enthusiasts rely on this knowledge to pinpoint exact misfiring cylinders during diagnostic procedures. The 1-4-2-5-3-6 sequence serves as a fundamental reference point when replacing spark plugs, ignition coils, or fuel injectors. Technicians use firing order information to test compression, check ignition timing, and verify proper cylinder operation in systematic repair processes.
Honda Pilot Firing Order Explained
The Honda Pilot’s firing order is a critical specification that varies across different model years. Understanding your exact model’s firing sequence ensures proper maintenance and troubleshooting of engine performance issues.
Standard V6 Engine Configuration
Honda Pilot models typically come equipped with a 3.5L V6 engine that follows different firing orders depending on the production year. Earlier Pilots from 2003-2005 use a firing order of 1-2-3-4-5-6 with a distributorless ignition system featuring individual coils for each cylinder. Models manufactured between 2008-2014, which use the J35Y6 engine, follow a different firing sequence of 1-4-2-5-3-6. This exact ordering optimizes engine balance, reduces vibration, and ensures smooth power delivery throughout the RPM range.
The 1-2-3-4-5-6 Cylinder Numbering System
The cylinder numbering system in Honda Pilots corresponds directly to their physical location in the engine block. In the 2003-2005 models, cylinders are numbered sequentially from 1 through 6, matching the firing order of 1-2-3-4-5-6. Later models (2008-2014) maintain the same physical numbering convention but operate on the alternate firing sequence of 1-4-2-5-3-6. This numbering layout places cylinders 1-3 on the front bank and cylinders 4-6 on the rear bank in most configurations. Technicians and DIY mechanics rely on this standardized numbering when performing ignition-related repairs or diagnosing cylinder-exact issues like misfires or compression problems.
The Correct Firing Order for Honda Pilot Models
Honda Pilot firing orders vary by generation, with exact sequences designed to optimize engine performance and minimize vibration. Each generation follows a distinct pattern that mechanics and DIY enthusiasts must understand for proper maintenance and troubleshooting.
2003-2008 First Generation
The first-generation Honda Pilot (2003-2008) utilizes a unique firing order for its 3.5L V6 engine. According to repair guides, these early models follow a sequential firing pattern of 1-2-3-4-5-6. This differs from what’s commonly reported in some sources, highlighting the importance of consulting official documentation when working on these vehicles. The sequential firing order contributes to the smooth operation and balanced power delivery that characterized these early Pilots.
2009-2023 Second and Third Generation Models
Honda implemented a different firing order for all second and third-generation Pilot models (2009-2023). These newer vehicles, equipped with the 3.5L V6 engine (including the J35Y6 variant), follow a firing order of 1-4-2-5-3-6. This pattern creates an alternating firing sequence between the engine banks, reducing vibration and improving overall performance. Multiple technical sources confirm this firing order remains consistent across the entire second and third-generation lineup, making it easier for technicians to perform maintenance across these model years.
How to Identify Cylinder Positions on a Honda Pilot
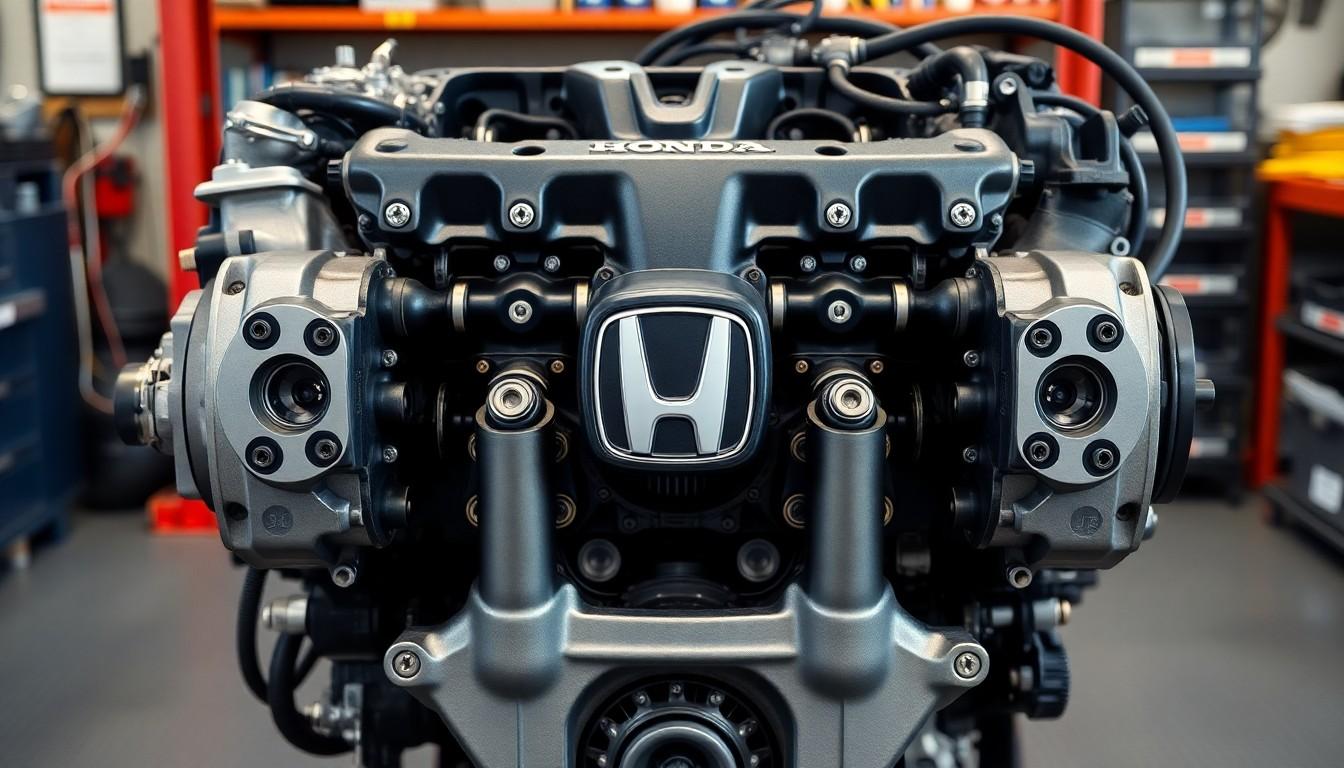
Identifying cylinder positions on a Honda Pilot requires understanding the basic engine layout first. The 3.5L V6 engine in Honda Pilots follows a exact numbering pattern that helps locate each cylinder accurately. Let’s explore how to identify these positions correctly.
Understanding the Engine Layout
The Honda Pilot’s V6 engine features cylinders arranged in two distinct banks. Cylinders 1, 3, and 5 are located on the driver’s side of the engine. Cylinders 2, 4, and 6 are positioned on the passenger’s side. This arrangement forms the characteristic “V” shape that gives V6 engines their name.
Visual Identification Process
Finding the correct cylinder positions on your Honda Pilot involves these steps:
- Locate the engine block by opening the hood and identifying the main engine assembly
- Identify both cylinder heads – one on each side of the “V” configuration
- Determine the front of the engine typically facing the radiator
- Remember the pattern: driver’s side houses cylinders 1, 3, 5 while passenger’s side contains 2, 4, 6
The distributorless ignition system in the Honda Pilot uses one coil per cylinder, making it essential to connect components to the correct cylinder locations.
Using Firing Order for Confirmation
Once you’ve identified the cylinder positions, verify your findings using the firing order. The 2008-2014 Honda Pilot models follow a 1-4-2-5-3-6 firing sequence. This means cylinder 1 fires first, followed by cylinder 4, then 2, and so on. Referencing the firing order diagram in your service manual provides additional confirmation that you’ve correctly identified each cylinder position.
Practical Application
When performing maintenance tasks like replacing spark plugs or ignition coils, knowing the exact cylinder positions prevents errors. Access to cylinders varies, with those on the passenger side (2, 4, 6) typically requiring more effort to reach due to the transverse mounting of the engine. Consulting model-exact engine diagrams from official Honda repair guides ensures accuracy when working on your particular Pilot model.
Common Symptoms of Incorrect Firing Order

Engine Misfires
Engine misfires occur frequently when the firing order is incorrect in your Honda Pilot. The improper sequence disrupts the combustion timing, causing cylinders to fire at the wrong moments. Performance suffers noticeably as the engine struggles to maintain proper power output. Diagnosing this issue typically involves scanning for misfire codes (P0300-P0306) which indicate exact cylinders experiencing problems.
Rough Engine Idle
Rough idling manifests as noticeable vibrations and inconsistent RPMs when your Pilot is stationary. The engine shakes excessively due to the uncoordinated firing of cylinders. This symptom becomes particularly pronounced when the vehicle is in park or neutral. Many Honda Pilot owners report this issue as one of the first signs something’s wrong with their ignition sequence.
Decreased Fuel Efficiency
Fuel economy drops significantly when your Honda Pilot operates with an incorrect firing order. Each misfire wastes fuel that doesn’t properly combust, leading to increased consumption. Your typical driving range decreases as the engine works inefficiently. Gas station visits become more frequent, creating an unexpected financial burden beyond the mechanical issues.
Check Engine Light
The check engine light illuminates as your Pilot’s onboard computer detects irregularities in the combustion process. Modern Honda engine management systems are sensitive to misfires and timing issues. The ECU stores exact diagnostic trouble codes that help identify the affected cylinders. Professional diagnostic tools can retrieve these codes to pinpoint exactly which part of the firing sequence is problematic.
Reduced Engine Power
Power loss becomes evident during acceleration and highway driving with an incorrect firing order. Your Honda Pilot’s 3.5L V6 engine can’t deliver its full performance potential when cylinders fire out of sequence. Overtaking other vehicles becomes more challenging as throttle response diminishes. Hills that were previously easy to climb now require more aggressive pedal input.
Potential Engine Damage
Long-term operation with an incorrect firing order leads to serious internal engine damage in your Honda Pilot. Spark plugs wear unevenly due to improper combustion timing. Ignition coils fail prematurely from the stress of incorrect firing patterns. The pistons and rings experience abnormal wear patterns that eventually affect compression. Addressing this issue promptly prevents these expensive cascading failures that could eventually require engine rebuilding.
DIY Guide to Checking Spark Plug Wires and Coils
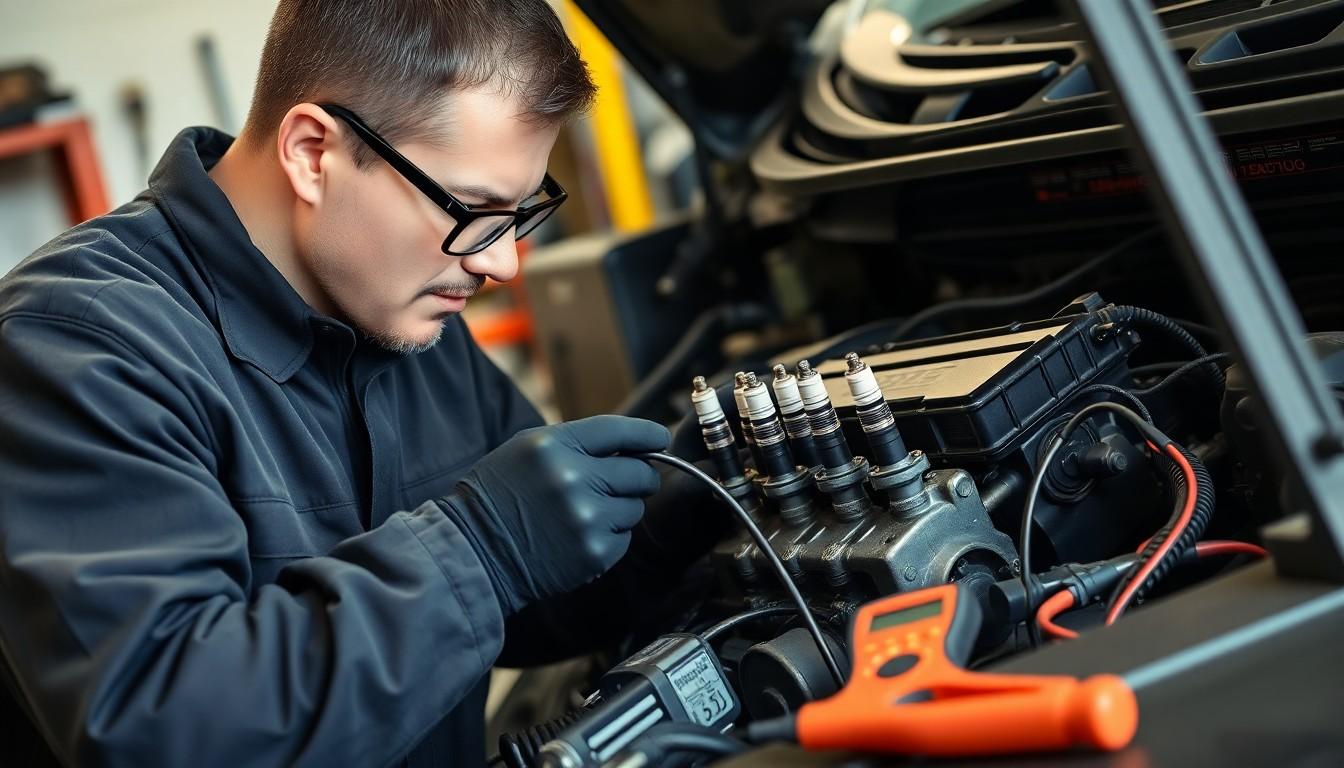
Checking your Honda Pilot’s spark plug wires and coils helps maintain optimal engine performance and prevent common issues related to firing order problems. This guide outlines the essential tools and steps needed for a thorough inspection.
Tools Needed
Proper inspection requires exact tools for accurate diagnosis:
- Spark tester for verifying electrical discharge
- Multimeter to measure resistance values
- Socket wrench or ratchet and socket set for removing components
- Spark plug wire puller to safely disconnect wires without damage
Steps
Checking Spark Plug Wires
- Locate the Spark Plug Wires
Find all spark plug wires connecting to both the spark plugs and the ignition coil. These cables transfer electrical current from the coil to each spark plug.
- Remove the Spark Plug Wires
Grip each wire with the specialized wire puller tool and gently disconnect them from the spark plugs and ignition coil. Pulling directly on the wires can cause internal damage.
- Inspect the Wires
Examine each wire carefully for visible damage such as cracks, burns, or worn insulation that could cause electrical leakage or misfires.
- Test the Spark Plug Wires
Measure the resistance of each wire using your multimeter and compare readings to manufacturer specifications. Connect a spark tester to verify proper spark transmission through each wire.
Checking Coils
- Locate the Ignition Coils
Honda Pilots with distributorless ignition systems (like the 2003-2005 models) feature individual coil packs for each cylinder. These components are typically mounted directly above the spark plugs.
- Remove the Coil Packs
Use your socket wrench to loosen and remove each coil pack from its position above the spark plugs. Take care not to damage the surrounding components.
- Inspect the Coils
Look for signs of physical damage including cracks, melting, or oil contamination on each coil pack. These visual indicators often reveal failing components.
- Test the Coils
Check both primary and secondary resistance values using your multimeter and compare them to Honda’s specifications. Attach a spark tester to confirm each coil produces adequate spark for combustion.
Additional Tips
Working on your Honda Pilot’s ignition system becomes easier with these practical considerations:
- Allow the engine to cool completely before beginning any inspection to avoid burns.
- Consult your exact model year’s repair manual for exact resistance specifications and torque values.
- Replace components in sets when possible, as wear typically affects all wires or coils similarly.
- Mark wire positions before removal if you’re uncertain about their correct arrangement according to the firing order.
Following this systematic approach enables you to identify and address ignition system issues before they cause important performance problems or damage to your Honda Pilot’s engine.
Maintenance Tips to Preserve Proper Engine Timing

Regular maintenance ensures your Honda Pilot’s engine timing and firing order remain optimal. Following these key maintenance practices helps prevent timing issues that could affect engine performance.
Spark Plug Maintenance
Replacing spark plugs at recommended intervals prevents disruption to the firing order. Worn spark plugs can cause misfires and irregular combustion, affecting the 1-4-2-5-3-6 sequence in your Honda Pilot’s engine. We recommend inspecting spark plugs every 30,000 miles and replacing them according to your exact model’s maintenance schedule.
Ignition Coil Checks
Honda Pilots use a distributorless ignition system with one coil per cylinder, making coil maintenance crucial. Faulty ignition coils directly impact the firing sequence and can cause cylinder-exact misfires. Testing coil resistance with a multimeter during routine service helps identify potential issues before they affect performance.
Timing Belt or Chain Inspection
Models with timing belts require inspection and replacement at manufacturer-specified intervals—typically every 60,000-100,000 miles. Pilots with timing chains need periodic checks for proper tension and wear signs. Neglected timing components can jump teeth or fail completely, throwing off the entire firing sequence and potentially causing severe engine damage.
Cylinder Head and Valve Maintenance
Proper valve clearance and cylinder head condition directly influence engine timing accuracy. Checking for oil leaks around the valve cover gaskets prevents oil contamination that could affect timing components. Regular valve adjustments according to Honda’s specifications maintain optimal compression and firing efficiency.
Engine Oil and Filter
Clean oil circulation protects timing components from premature wear. Changing oil and filters at 5,000-7,500 mile intervals keeps the engine properly lubricated and free from contaminants that could affect timing chain tension or cause accelerated component wear affecting the firing order.
Diagnostic Checks
Using scan tools to identify error codes helps catch timing issues early. Addressing P0300-series misfire codes promptly prevents cascade failures that could disrupt the entire firing sequence. Regular computer diagnostics can reveal timing chain stretch or other subtle issues before they manifest as drivability problems.
Following these maintenance practices helps preserve your Honda Pilot’s proper engine timing and firing order, ensuring smooth operation and preventing costly repairs. Each maintenance task directly supports the precise combustion sequence that keeps your V6 engine running at its best.
Conclusion
Understanding your Honda Pilot’s firing order isn’t just mechanical knowledge—it’s essential for maintaining your SUV’s performance and longevity. Whether you’re driving a first-generation model with the 1-2-3-4-5-6 sequence or a newer version following the 1-4-2-5-3-6 pattern we’ve outlined the critical information you need.
By applying this knowledge during maintenance routines and troubleshooting procedures you’ll save time diagnose issues accurately and prevent costly damage. Remember that proper cylinder identification and following manufacturer specifications are key to keeping your Pilot running smoothly.
We hope this guide empowers you to approach ignition system maintenance with confidence. Your Honda Pilot will reward your attention to these details with reliable performance for years to come.
Frequently Asked Questions
What is the firing order for a Honda Pilot?
The firing order depends on the model year. Honda Pilots from 2003-2005 use a firing order of 1-2-3-4-5-6. Models manufactured between 2008-2014 and newer generations (through 2023) follow a firing order of 1-4-2-5-3-6. This sequence determines the order in which spark plugs ignite fuel in each cylinder.
How are the cylinders arranged in a Honda Pilot engine?
The Honda Pilot uses a V6 engine with cylinders arranged in two banks forming a “V” shape. Cylinders 1-3 are typically located on the front bank (driver’s side), while cylinders 4-6 are on the rear bank (passenger’s side). The engine is mounted transversely, facing the passenger side.
Why is knowing the firing order important?
Understanding the firing order is crucial for troubleshooting engine misfires, replacing spark plugs or ignition coils in the correct sequence, and ensuring optimal engine performance. It helps balance engine operation, minimize vibrations, and ensure smooth power delivery, ultimately extending engine longevity.
What are signs of an incorrect firing order?
Signs include engine misfires, rough idling, decreased fuel efficiency, reduced power during acceleration, and an illuminated check engine light. These issues occur due to disrupted combustion timing. Long-term operation with an incorrect firing order can cause uneven wear on ignition components and potentially lead to costly engine damage.
How do I check if my spark plug wires and ignition coils are working properly?
Inspect spark plug wires for cracks, burns, or damaged boots. Test wire resistance with a multimeter (should match manufacturer specifications). For ignition coils, check for physical damage, corrosion, and test resistance values. Use a spark tester to verify proper spark generation. Always consult your repair manual for model-specific specifications.
How can I identify cylinder positions on my Honda Pilot?
Locate the engine block and identify the two cylinder heads. Determine which side is the front of the engine (typically the side with the accessory belt). Cylinders 1-3 are usually on the driver’s side, while 4-6 are on the passenger side. Consult model-specific engine diagrams from official Honda repair guides for accuracy.
How often should I maintain components related to firing order?
Replace spark plugs according to Honda’s recommended intervals (typically 100,000 miles for iridium plugs). Inspect ignition coils every 100,000 miles. Check timing belts/chains per maintenance schedule (usually 60,000-105,000 miles). Perform regular oil changes and use diagnostic scans to catch potential timing issues early.
Do all Honda Pilot generations have the same firing order?
No. First-generation Pilots (2003-2008) use a sequential firing order of 1-2-3-4-5-6. Second and third-generation models (2009-2023) use a firing order of 1-4-2-5-3-6. Always consult the specific service documentation for your model year to confirm the correct firing sequence.

