Ever found yourself stranded with a dead battery, wondering how long to leave those jumper cables connected? You’re not alone. This common roadside dilemma leaves many drivers confused about the proper timing for a successful jump start.
We’ve all been there—standing in a parking lot or on the side of the road, jumper cables in hand, unsure if we’re doing it right. Connect too briefly and your car won’t start; leave them on too long and you might damage both vehicles’ electrical systems. In this guide, we’ll clear up the confusion once and for all, sharing expert advice on the ideal connection time before attempting to start your vehicle.
Understanding the Purpose of Jumper Cables
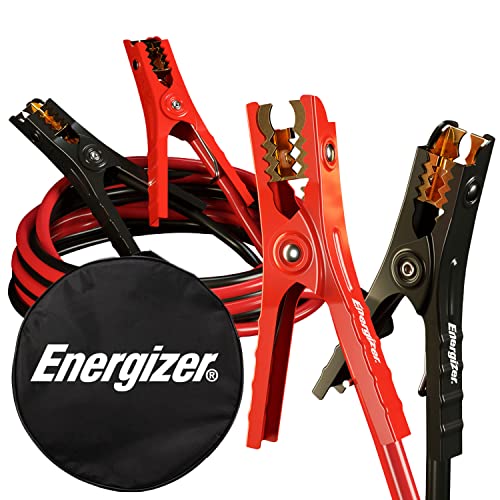
Jumper cables serve as a temporary electrical connection between a dead battery and a functioning one. These heavy-duty insulated wires with alligator clips transfer power from a donor vehicle’s battery to the depleted one, providing enough current to start the engine. Most jumper cables are color-coded (typically red for positive and black for negative) to prevent dangerous reverse polarity connections.
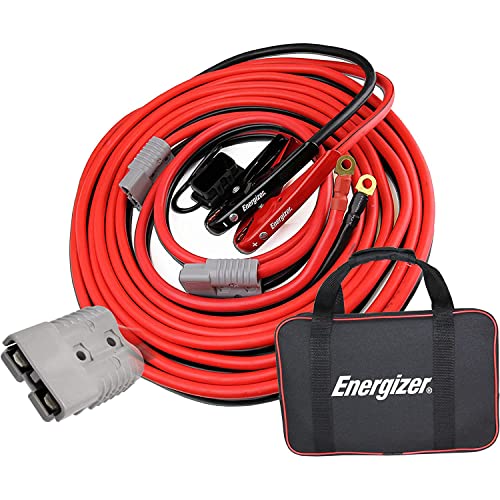
The primary function of jumper cables is to bypass the dead battery by creating a parallel circuit. This parallel connection allows electricity to flow directly from the good battery to the starter motor of the disabled vehicle. Quality jumper cables feature thick copper wire (usually 4-8 gauge) that can handle the substantial amperage required during the jump-starting process without overheating.
Different driving conditions demand exact jumper cable features. For cold weather environments, cables with greater flexibility remain manageable at low temperatures, while thicker gauge cables (4-6) transfer power more efficiently when dealing with severely discharged batteries. Premium jumper cables often include features like spark-resistant clamps, protective coating, and extended lengths (16-20 feet) for situations where vehicles can’t be positioned side by side.
The Correct Way to Connect Jumper Cables
Connecting jumper cables properly ensures both safety and effectiveness when jump-starting a dead battery. Following the correct step-by-step procedure prevents damage to electrical components and reduces the risk of sparks or injury.
- Ensure Both Cars Are Turned Off: Position both vehicles close enough for the cables to reach, put them in park (or neutral for manual transmissions), and turn off the engines completely. Engage the parking brake on both cars for added safety.
- Connect Positive Terminals:
- Attach one end of the red (positive) jumper cable to the positive terminal on the dead battery.
- Connect the other end of the red cable to the positive terminal of the good battery.
- Connect Negative Terminals:
- Attach one end of the black (negative) jumper cable to the negative terminal of the good battery.
- Connect the other end of the black cable to a clean, unpainted metal surface under the hood of the dead car, away from the battery and fuel lines.
Order of Connection
The sequence of connecting jumper cables is crucial for preventing dangerous sparks and electrical system damage. We recommend this exact order every time:
- First Connection: Red (positive) cable to the positive terminal of the dead battery
- Second Connection: Red (positive) cable to the positive terminal of the good battery
- Third Connection: Black (negative) cable to the negative terminal of the good battery
- Fourth Connection: Black (negative) cable to a clean, unpainted metal surface on the dead car’s engine block or frame
This exact sequence minimizes the risk of sparks near the batteries where hydrogen gas might be present, creating a safer jump-start process.
Safety Precautions
- Clean Connection Points: Ensure both battery terminals are free from corrosion or dirt before attaching cables, as poor connections reduce effectiveness.
- Avoid Fuel System Components: Never attach the negative cable to the negative terminal of the dead battery or near any fuel lines to prevent fire hazards.
- Maintain Vehicle Distance: Keep at least two feet between vehicles when connecting and disconnecting cables to prevent electrical arcing between them.
- Remove Cables in Reverse Order: Disconnect the jumper cables in the exact opposite sequence from how they were attached—starting with the negative cable from the metal surface, then negative from good battery, followed by positive from good battery, and finally positive from dead battery.
- Run Engines Properly: After connections are made, run the donor car’s engine for 2-3 minutes before attempting to start the dead car.
- Keep Children Away: Ensure children remain at a safe distance throughout the entire jump-starting process.
How Long to Leave Jumper Cables Connected
The duration jumper cables remain connected is critical for a successful jump-start. Proper timing ensures sufficient charge transfer without risking damage to either vehicle’s electrical system.
Minimum Connection Time
After connecting the jumper cables correctly and starting the donor vehicle, let it idle for 1-2 minutes before attempting to start the dead car. This short period allows the working battery to transfer enough initial charge to the depleted battery. Many drivers mistakenly try to start the dead vehicle immediately after connection, reducing the chances of success. The battery needs this brief charging interval to accumulate sufficient power for ignition.
Factors That Affect Charging Time
Battery condition significantly impacts the required connection time before attempting to start the vehicle. Deeply discharged batteries may need 3-5 minutes of connection time rather than the standard 1-2 minutes. Engine size also plays a role, with larger engines typically requiring longer charging periods due to their increased electrical demands.
The quality of jumper cables directly affects charging efficiency - thick, well-insulated cables transfer power more effectively than thin, worn ones. Secure connections at all terminals are equally important, as loose or corroded attachment points create resistance that slows power transfer.
Temperature conditions can extend necessary charging times, particularly in extremely cold weather when batteries perform less efficiently. Once the dead vehicle starts successfully, it’s advisable to keep both engines running for an additional 15-20 minutes to further recharge the battery before disconnecting the jumper cables.
Starting the Dead Vehicle
After connecting the jumper cables correctly and allowing the good battery to charge the dead one, it’s time to attempt starting the dead vehicle. This crucial step requires proper timing and technique to ensure success.
When to Attempt Starting
The optimal time to attempt starting the dead vehicle is after the donor car’s engine has been running for 2 to 3 minutes. This initial charging period allows sufficient electrical current to flow from the good battery to the depleted one. During this time, the dead battery receives enough charge to potentially start the engine. Once you’ve waited the recommended 2-3 minutes, turn the ignition in the dead vehicle while keeping the donor car’s engine running.
What to Do If It Doesn’t Start
If your first attempt to start the dead vehicle fails, don’t panic—several troubleshooting steps can help. First, check all cable connections to ensure they’re secure and properly attached at all contact points. Loose or corroded connections prevent effective power transfer between vehicles. Next, let the good car’s engine continue running for a few additional minutes to provide extra charge to the dead battery. Sometimes the battery needs more initial power than the standard 2-3 minute charge can provide. If your vehicle still doesn’t start after these attempts, the issue might be more serious than a simple dead battery. Problems with the starter motor, alternator, or other electrical components might require professional diagnosis. In such cases, you’ll likely need to seek further assistance from a mechanic or consider replacing the battery entirely. Once the dead vehicle successfully starts, keep it running for at least 30 minutes to give the battery sufficient time to recharge.


Removing Jumper Cables Safely
Disconnecting jumper cables properly is just as important as connecting them correctly. Following a exact sequence helps prevent electrical arcs and potential damage to vehicle components.
Proper Disconnection Order
The removal sequence of jumper cables must be followed in reverse order of installation to ensure safety. Start by removing the negative (black) cable from the ground point on the vehicle with the dead battery. Next, disconnect the negative cable from the donor vehicle’s battery terminal. Continue by removing the positive (red) cable from the dead battery, and finally detach the positive cable from the donor vehicle’s battery. This exact order minimizes the risk of sparks occurring near battery gases that could potentially cause an explosion.
Maintain at least two feet of distance between vehicles during the disconnection process to prevent any electrical current from passing between them. Handle the cables carefully, keeping the metal clamps from touching each other or any metal surfaces until they’re completely disconnected from both vehicles.
Remember to store your jumper cables properly after use by coiling them without kinks and securing them with the attached straps or ties. Proper storage extends the lifespan of your cables and ensures they’re ready for the next emergency.
Alternatives to Traditional Jumper Cables
Traditional jumper cables aren’t the only solution for reviving a dead battery. Modern technology has introduced several innovative alternatives that offer convenience and additional safety features for drivers facing battery issues.
Portable Jump Starters
Portable jump starters eliminate the need for a second vehicle entirely. These compact devices store enough power to jump-start a vehicle multiple times on a single charge. Most modern units include safety features like reverse polarity protection, short circuit prevention, and over-voltage safeguards. Many portable jump starters also double as power banks for charging electronic devices, making them versatile additions to any emergency kit.
Battery Boosters
Battery boosters function similarly to portable jump starters but typically offer higher cranking amps for larger engines. These devices connect directly to your battery terminals and provide instant power to start your vehicle. Premium models include built-in LED lights for nighttime emergencies and digital displays showing charge levels. Battery boosters remain ready for use for months when fully charged, providing reliable backup for unexpected battery failures.
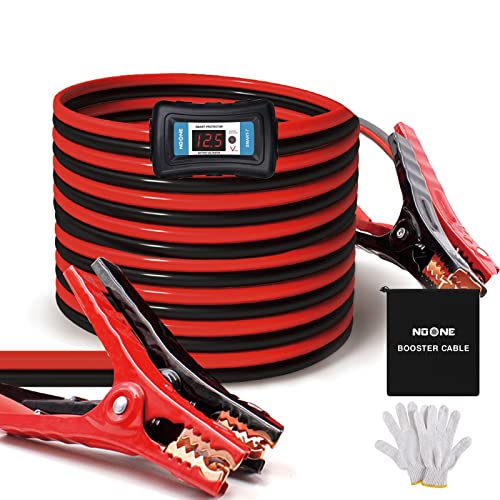
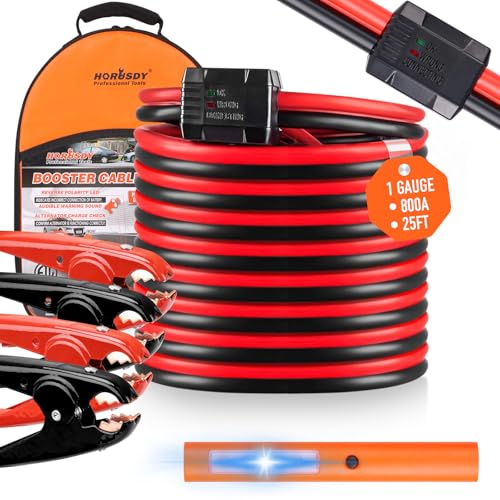
Smart Jumper Cables
Smart jumper cables incorporate advanced electronics that automatically detect proper connections. These innovative cables prevent reverse polarity connections with sensors that won’t allow current flow until safely connected. LED indicators on smart jumper cables display connection status and battery condition for added confidence during the jump-starting process. The built-in surge protection in these cables helps safeguard sensitive vehicle electronics during the power transfer.
Emergency Roadside Assistance Services
Roadside assistance services offer professional help when dealing with battery issues. These services employ trained technicians equipped with professional-grade jump-starting equipment for all vehicle types. Many auto insurance policies include roadside assistance as an optional add-on at reasonable rates. Membership clubs like AAA provide similar services along with other emergency assistance options for comprehensive coverage.

Conclusion
Jumpstarting a dead battery doesn’t have to be intimidating when you follow the right procedure. The key takeaway is timing: allow the donor vehicle to run for 2-3 minutes before attempting to start the dead car, while severely discharged batteries may need 3-5 minutes of connection time.
Remember that cable quality matters and modern alternatives like portable jump starters provide convenient options for emergency situations. Always prioritize safety by following proper connection and disconnection procedures.
By understanding the optimal connection duration and following our guidelines, you’ll be back on the road quickly and safely while preventing potential damage to your vehicle’s electrical system. Keep these tips handy for those unexpected moments when battery power fails.
Frequently Asked Questions
How long should I leave jumper cables connected?
For most situations, leave jumper cables connected for 2-3 minutes with the donor car running before attempting to start the dead vehicle. For deeply discharged batteries, extend this to 3-5 minutes. After your car starts, keep both vehicles running for an additional 15-20 minutes to further charge the battery. The total connection time should typically be about 20-25 minutes for optimal results.
What’s the correct order for connecting jumper cables?
Connect in this sequence: first, attach the positive (red) cable to the positive terminal of the dead battery; second, connect the positive cable to the donor battery; third, attach the negative (black) cable to the negative terminal of the donor battery; finally, connect the negative cable to an unpainted metal surface on the dead car’s engine block. This order prevents dangerous sparks.
Can I damage my car by leaving jumper cables connected too long?
Yes, leaving jumper cables connected for excessive periods (over 30 minutes) can potentially damage both vehicles’ electrical systems. Modern vehicles have sensitive electronics that may be affected by prolonged exposure to inconsistent voltage. Once the dead vehicle starts and runs steadily, disconnect the cables following the proper removal procedure to prevent damage.
What if my car doesn’t start after connecting jumper cables?
If your car doesn’t start after 2-3 minutes, check that all cable connections are secure and clean. Allow the donor vehicle to run for an additional 5 minutes before trying again. If it still doesn’t start, your battery may be too damaged to accept a charge, or you might have a different issue like a faulty starter or alternator. In this case, professional assistance is recommended.
What’s the correct way to remove jumper cables?
Remove cables in the reverse order of connection: first, disconnect the negative cable from the ground point on the formerly dead car; second, remove the negative cable from the donor vehicle; third, detach the positive cable from the dead car; finally, remove the positive cable from the donor vehicle. Maintain distance between clamps to avoid sparks.
Are portable jump starters better than traditional jumper cables?
Portable jump starters offer several advantages over traditional jumper cables. They don’t require a donor vehicle, can be used in isolated locations, and often include safety features like reverse polarity protection. Many modern units are compact, include LED lights for nighttime use, and can also charge electronic devices. However, they do require periodic recharging and may have limited effectiveness with severely discharged batteries.
Can extremely cold weather affect the jump-starting process?
Yes, cold weather significantly impacts jump-starting. Batteries lose power in low temperatures, making them harder to charge and requiring longer connection times (5-7 minutes). Use quality cables with higher gauge (lower number) in cold conditions. The donor vehicle should run longer before attempting to start the dead car, and both vehicles should run longer afterward to ensure adequate charging.
How often can I jump-start my car safely?
Jump-starting should be an occasional emergency solution, not a regular practice. If you need to jump-start your vehicle more than 2-3 times in a month, this indicates a deeper issue with your battery or charging system. Frequent jump-starts can strain your battery and potentially damage your vehicle’s alternator and electrical components. Have your battery and charging system professionally tested after multiple jump-starts.