Seeing that brake light warning illuminate on your dashboard can instantly cause concern. We understand how frustrating and worrying this common issue can be, especially when you’re unsure what’s triggered it or how serious the problem might be.
We’ll walk you through the straightforward steps to diagnose and fix a brake light warning, whether it’s caused by low brake fluid, worn brake pads, or simply a faulty sensor. With our expert guidance, you’ll be able to determine if it’s a quick DIY fix or if you need professional assistance. Many brake light warnings can be resolved without an expensive trip to the mechanic.
Understanding Brake Light Warning Indicators
Brake light warning indicators serve as your vehicle’s communication system for potential brake issues. These dashboard alerts appear for exact reasons and understanding them is the first step toward proper diagnosis and repair.
Common Dashboard Warning Symbols
Dashboard warning lights use different colors and symbols to indicate various levels of concern. The brake warning light typically appears as a circle with parentheses-like symbols on either side, sometimes including an exclamation point. Red brake warning lights demand immediate attention as they indicate serious issues such as low brake fluid, engaged parking brake, or ABS system failure. Yellow or amber lights generally suggest less urgent problems that still require attention, like a future maintenance need. Different vehicle makes and models may display slightly varying symbols, so consulting your owner’s manual offers the most accurate information about your exact vehicle’s warning indicators.
Why Brake Light Warnings Shouldn’t Be Ignored
Ignoring brake light warnings creates important safety risks for you and other road users. Brake failures lead to increased stopping distances, reduced vehicle control, and potentially catastrophic accidents at high speeds. The warning light often illuminates before complete brake failure occurs, giving you an opportunity to address the issue before it worsens. Continuing to drive with active brake warnings also typically causes additional damage to brake components, transforming a simple fix into a costly repair. Brake systems are complex with interdependent parts—minor issues frequently cascade into major problems when left unattended. Addressing the warning promptly saves money, preserves safety, and prevents being stranded in potentially dangerous situations.
Diagnosing the Cause of Your Brake Light Warning

Identifying the root cause of your brake light warning requires a systematic approach. The first step involves checking for fault codes using an OBD2 scanner, especially in vehicles equipped with ABS systems, as this can pinpoint exact brake system issues.
Low Brake Fluid Issues
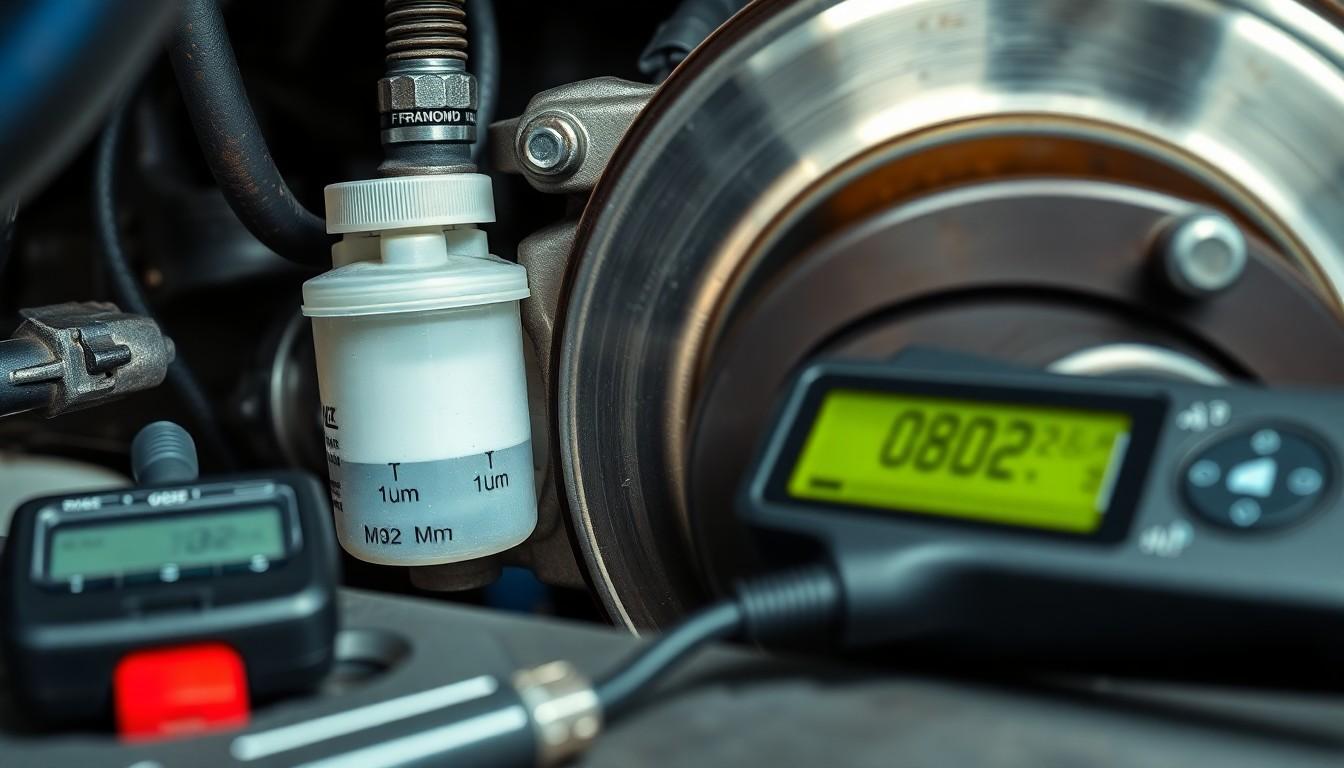
Low brake fluid is a common trigger for brake warning lights. Locate the master cylinder (brake fluid reservoir) on the driver’s side of your engine compartment and check if the fluid level falls between the minimum and maximum markings. Adding new brake fluid after flushing out the old prevents contamination that might affect braking performance. Pay attention to your brake pedal feel—if it sinks to the floor, this typically indicates a leak or air trapped in the brake system requiring immediate attention.
Worn Brake Pads
Worn brake pads don’t directly activate the brake warning light in most vehicles. But, they’re connected to broader brake system concerns that may trigger the warning. The light more commonly illuminates due to related issues like low brake fluid resulting from pad wear or sensor malfunctions. Visually inspect your brake pads through the wheel spokes or have them checked by a professional if you suspect excessive wear.
Parking Brake Engagement Problems
Partial engagement of your parking brake frequently causes brake warning lights to illuminate. Ensure the parking brake is completely released by checking the handle or pedal position. Many modern vehicles feature a dedicated parking brake indicator separate from the main brake warning light. Checking both indicators helps determine if the parking brake mechanism is causing your warning light issue.
Sensor Malfunctions
Brake system sensors monitor various components and can trigger warning lights when they malfunction. Using an OBD2 scanner helps identify exact sensor-related fault codes in the system. Some sensor issues don’t generate codes but still cause warning lights, necessitating physical inspection of wire connections and sensor mounting points. Professional diagnosis might be required for complex sensor problems that aren’t immediately apparent during basic troubleshooting procedures.
Tools Needed to Fix Brake Light Warnings

Addressing a brake light warning requires exact tools to properly diagnose and resolve the issue. These essential items help identify the root cause and make necessary repairs to ensure your braking system functions correctly.
Basic Diagnostic Equipment
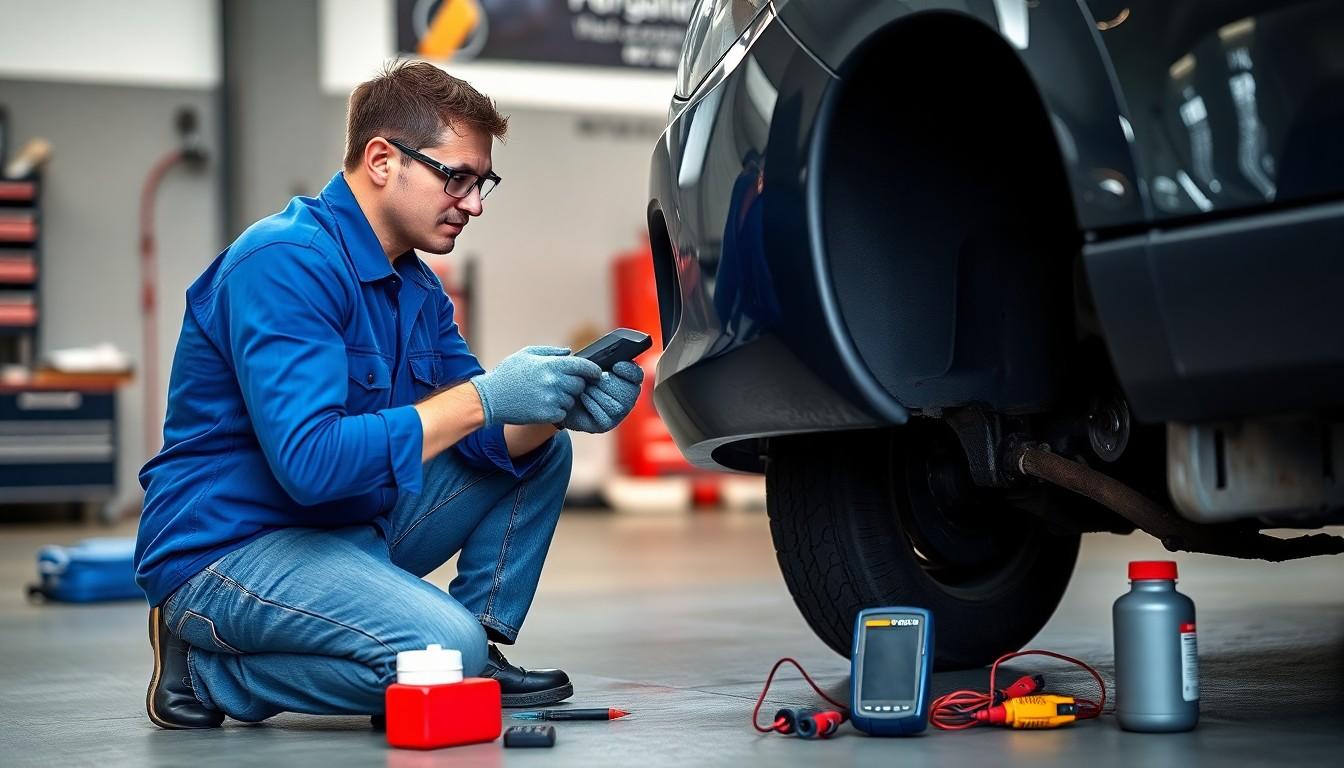
An OBD2 scanner or code reader serves as the primary diagnostic tool for interpreting fault codes from your vehicle’s computer system. This device connects to the OBD2 port typically located under the dashboard on the driver’s side, providing detailed information about exact brake system malfunctions. A multimeter comes in handy for testing electrical connections and sensors when electrical issues might be triggering the warning light. These diagnostic tools pinpoint the exact problem, saving you time and preventing unnecessary parts replacement.
Safety Precautions Before Starting
Limit driving your vehicle when the brake warning light is illuminated to minimize safety risks associated with potentially compromised braking. Park on a completely level surface before checking brake fluid levels to ensure accurate readings of the fluid reservoir. Always wear protective gear such as gloves and safety glasses when handling brake fluid or working around brake components, as brake fluid can damage paint and irritate skin. Don’t hesitate to consult a professional mechanic if you’re uncomfortable performing the diagnostic steps or if the initial troubleshooting doesn’t resolve the warning light issue. Taking these precautions protects both you and your vehicle during the diagnostic and repair process.
Step-by-Step Solutions for Brake Light Warnings

When your brake warning light illuminates, taking immediate action can prevent more serious brake system issues. The following step-by-step answers address the most common causes of brake warning lights and provide exact fixes you can carry out, often without professional help.
Topping Off Brake Fluid
Low brake fluid levels commonly trigger the brake warning light in most vehicles. First, locate the brake fluid reservoir, typically positioned near the brake pedal on the opposite side of the firewall partition. Remove the reservoir cap and check if the fluid level falls below the “Full” line marked on the container. Add the appropriate brake fluid type specified in your vehicle’s manual, filling only to the designated line without overfilling. After adding fluid, start your vehicle to verify if the warning light turns off. If the light disappears, you’ve successfully resolved the issue, but persistent illumination indicates a need for further investigation.
Replacing Worn Brake Pads
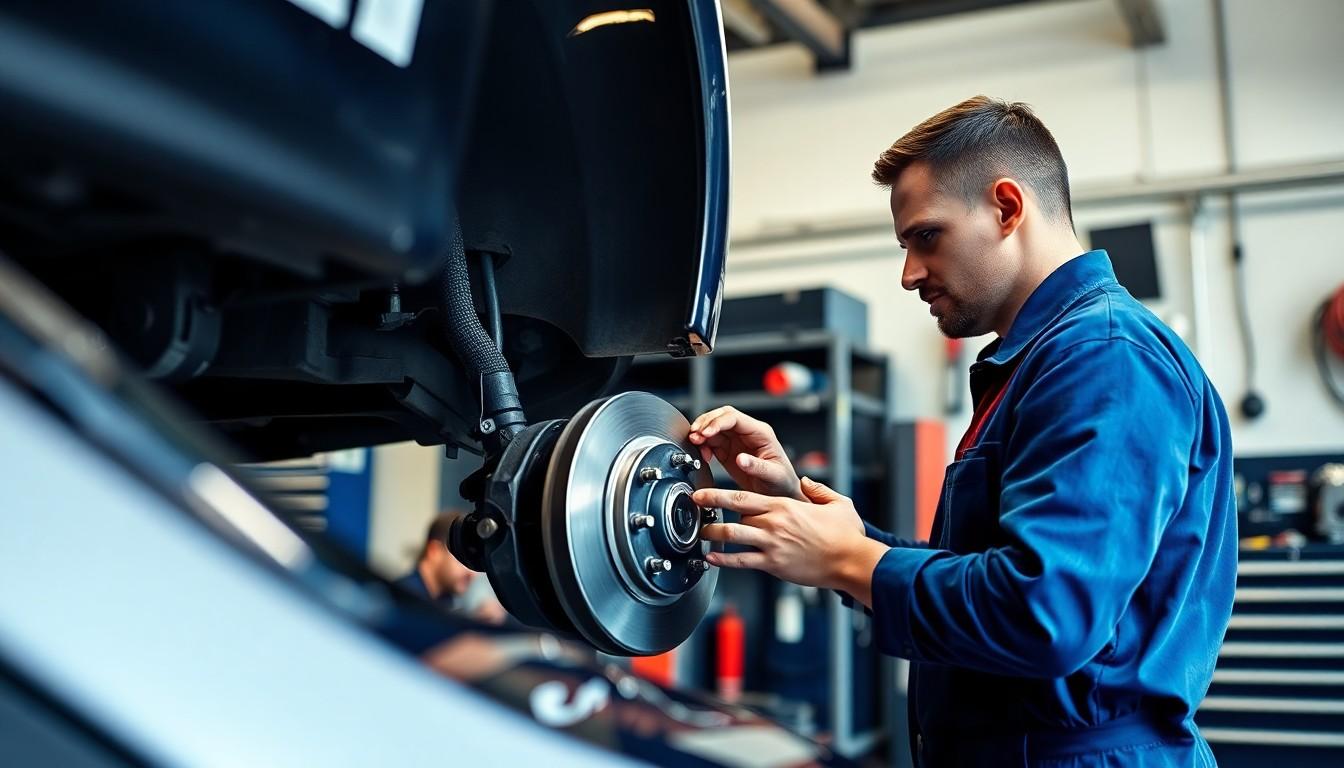
Significantly worn brake pads often activate the brake warning light, especially in vehicles with dedicated pad wear indicators. Inspect your brake pads visually by looking through the wheel spokes or removing the wheels for a more thorough examination. Brake pads thinner than 1/4 inch require immediate replacement. Purchase the correct replacement pads for your exact vehicle make and model. Install new brake pads following proper procedures, including compressing the brake caliper piston to accommodate the thicker new pads. A successful pad replacement typically resolves the warning light issue while ensuring safe and reliable braking performance.
Fixing Parking Brake Mechanisms
An engaged or partially engaged parking brake frequently causes brake warning lights to illuminate. Check if your parking brake lever or pedal is fully released. Completely disengage the parking brake and see if this extinguishes the warning light. Parking brake mechanisms can sometimes stick or become misaligned, particularly in vehicles that aren’t regularly used. Inspect the cables and connections for any visible damage or excessive tension. Lubricate any stiff components with appropriate brake lubricant. Persistent warning lights after disengaging the parking brake indicate a potential mechanical issue requiring professional inspection to repair the mechanism properly.
Resetting or Replacing Faulty Sensors
Brake warning lights occasionally activate due to malfunctioning sensors rather than actual brake problems. Connect an OBD-II scanner to your vehicle’s diagnostic port to retrieve any stored error codes related to the braking system. Exact error codes help pinpoint which sensor might be faulty, such as the brake fluid level sensor or ABS wheel speed sensors. Clear the codes after addressing the underlying issue to reset the warning light. Replace any faulty sensors with compatible parts designed for your vehicle model. Sensor replacement often requires disconnecting the battery beforehand and may need calibration afterward. Testing the electrical connections with a multimeter can confirm proper sensor function before finalizing the repair.
When to Seek Professional Help

While some brake light warnings can be addressed by vehicle owners, certain situations demand professional intervention. These scenarios typically involve complex brake system components or persistent warning lights that don’t resolve with basic troubleshooting.
Serious Warning Signs
Brake pedal sinking to the floor indicates a important hydraulic system failure, potentially from a brake fluid leak or air in the lines. Don’t drive your vehicle in this condition as it’s extremely dangerous. Intermittent or persistent brake warning lights that remain illuminated after checking fluid levels and releasing the parking brake suggest underlying issues requiring professional diagnosis. Reduced braking performance, including increased stopping distances or uneven braking, signals potentially serious safety concerns that mechanics should address immediately. Unusual sounds like grinding, squealing, or pulsating sensations through the brake pedal are clear indicators that professional inspection is necessary.
Cost Considerations for Professional Repairs
Diagnostic fees typically range from $50 to $150 depending on your location and the auto shop you choose. These assessments help identify the exact cause of the brake warning light. Parts and labor costs vary substantially based on the identified issue – simple brake fluid replacement or minor leak repairs cost less than replacing major components like calipers, rotors, or ABS system parts, which can range from several hundred to thousands of dollars. Towing expenses become necessary when your vehicle isn’t safe to drive, adding to the overall repair costs. Many repair shops offer free brake inspections as part of regular maintenance packages, potentially saving diagnostic fees if you combine the brake light diagnosis with scheduled service. Multiple repair quotes from different mechanics can help you find the most cost-effective solution without compromising quality.
Preventative Maintenance to Avoid Future Warnings

Maintaining your brake system regularly prevents brake light warnings from appearing in the first place. These proactive maintenance steps keep your braking system functioning optimally and help avoid unexpected issues on the road.
Regular Brake System Inspections
Routine inspections of your brake system components are essential for catching potential problems before they trigger warning lights. Check your brake fluid level and condition monthly, looking for any changes in color or consistency that might indicate contamination. Examine brake pads and rotors for signs of excessive wear, with particular attention to thickness measurements that fall below manufacturer specifications. Inspect brake hoses and lines for cracks, leaks, or bulges that could compromise braking performance. These regular visual checks detect minor issues before they develop into major problems requiring expensive repairs or causing safety concerns.
Recommended Maintenance Schedule
Following a structured maintenance timeline ensures your brake system remains in optimal condition throughout your vehicle’s life. Replace brake fluid every 30,000 to 50,000 miles to prevent moisture accumulation and maintain proper hydraulic function. Inspect brake pads every 10,000 to 15,000 miles and replace them when they reach the minimum thickness specified by your vehicle manufacturer. Examine brake rotors every 30,000 to 50,000 miles for signs of scoring, warping, or excessive wear that might necessitate resurfacing or replacement. Schedule comprehensive brake system inspections with a professional mechanic annually or bi-annually, even if you haven’t noticed any issues. Professional evaluations identify potential problems that might not be apparent during routine visual checks and provide peace of mind about your vehicle’s stopping capability.
Conclusion
Taking immediate action when your brake light warning appears is crucial for both safety and financial reasons. We’ve shown that many common causes like low fluid levels or disengaged parking brakes can be fixed at home with simple tools and basic knowledge.
Remember that your brake system is too important to ignore warning signs. Regular maintenance checks will help you avoid most warning light situations altogether. When in doubt or facing persistent issues don’t hesitate to consult a professional mechanic.
By following our troubleshooting steps you’ll not only resolve current brake light warnings but also develop better maintenance habits that protect your vehicle and everyone who rides in it. Safe driving starts with properly functioning brakes!
Frequently Asked Questions
What does a brake light warning on my dashboard indicate?
A brake light warning typically signals an issue with your braking system. It could indicate low brake fluid, worn brake pads, a partially engaged parking brake, or a faulty sensor. Red warning lights require immediate attention as they represent serious safety concerns, while yellow or amber lights suggest less urgent issues that still need addressing soon.
How can I diagnose the cause of my brake light warning?
Start by using an OBD2 scanner to check for fault codes, especially if your vehicle has ABS. Check your brake fluid level in the master cylinder, inspect brake pads for wear, ensure the parking brake is fully disengaged, and examine sensors for damage. The brake pedal’s feel can also provide clues—a soft or spongy pedal often indicates air in the brake lines.
Can I fix a brake light warning myself?
Yes, many brake light warnings can be resolved without professional help. Common DIY fixes include topping off low brake fluid, replacing worn brake pads, ensuring the parking brake is fully released, or resetting/replacing faulty sensors. However, if you’re uncomfortable with these tasks or the warning persists after basic troubleshooting, seek professional assistance.
How do I check and add brake fluid?
Park on a level surface and locate the brake fluid reservoir (usually a translucent plastic container near the driver’s side of the engine bay). Check if the fluid level is between the MIN and MAX lines. If low, carefully remove the cap, add the correct type of brake fluid specified in your owner’s manual until it reaches the appropriate level, then replace the cap securely.
When should I seek professional help for a brake light warning?
Consult a professional if you experience a sinking brake pedal, intermittent warning lights, reduced braking performance, unusual sounds, or if DIY troubleshooting doesn’t resolve the issue. Complex brake system components often require specialized knowledge and tools. Also seek help if you’re uncomfortable with any aspect of diagnosis or repair to ensure safety.
How often should I maintain my brake system to prevent warnings?
Implement a regular maintenance schedule: check brake fluid levels monthly, replace fluid every 30,000-50,000 miles, inspect brake pads every 10,000-15,000 miles, and have a comprehensive brake system evaluation annually or bi-annually by a professional. Also visually inspect brake components whenever possible and address any abnormalities immediately.
What safety precautions should I take when troubleshooting brake issues?
Limit driving when the warning light is on. Park on level ground for accurate fluid checks. Ensure the engine is cool before working in the engine bay. Wear protective gloves and eyewear when handling brake components, as brake fluid is corrosive. Never drive with severely compromised brakes, and if in doubt, have your vehicle towed to a repair shop.
How much does it typically cost to repair brake system issues?
Costs vary widely depending on the issue. DIY fixes like topping off brake fluid might cost under $20, while professional diagnostic fees typically range from $50-$150. Repairs can range from $100-$300 for brake pad replacement to $500+ for master cylinder or ABS module repairs. Getting multiple quotes from reputable shops can help find cost-effective solutions.

